


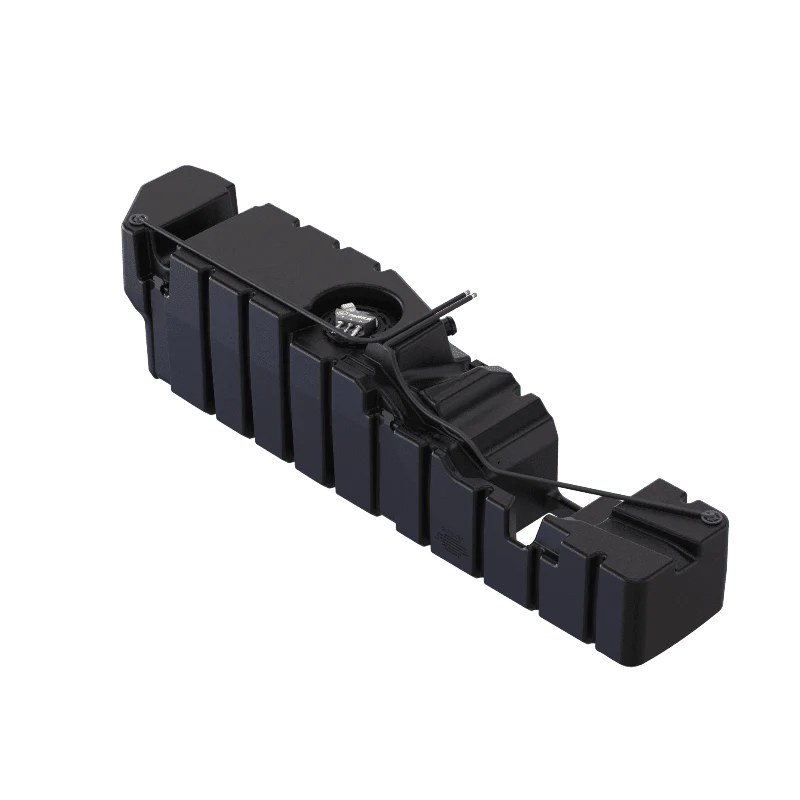
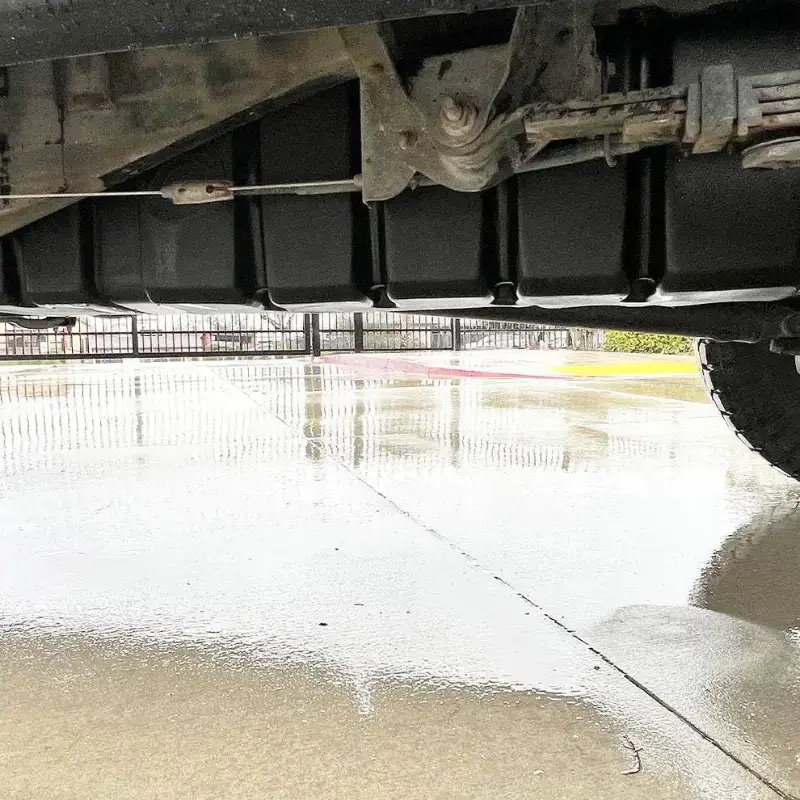
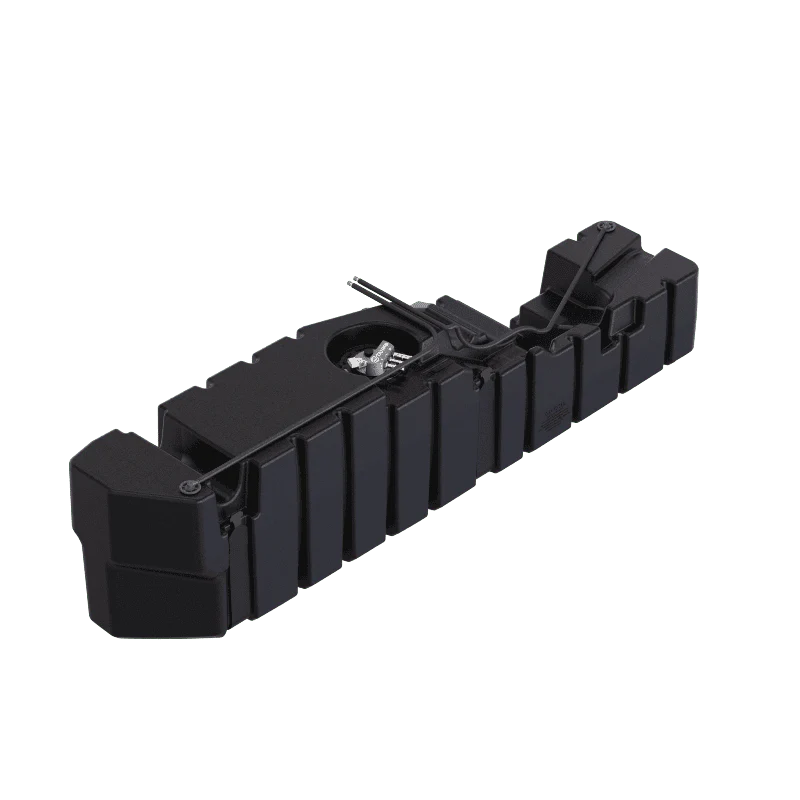
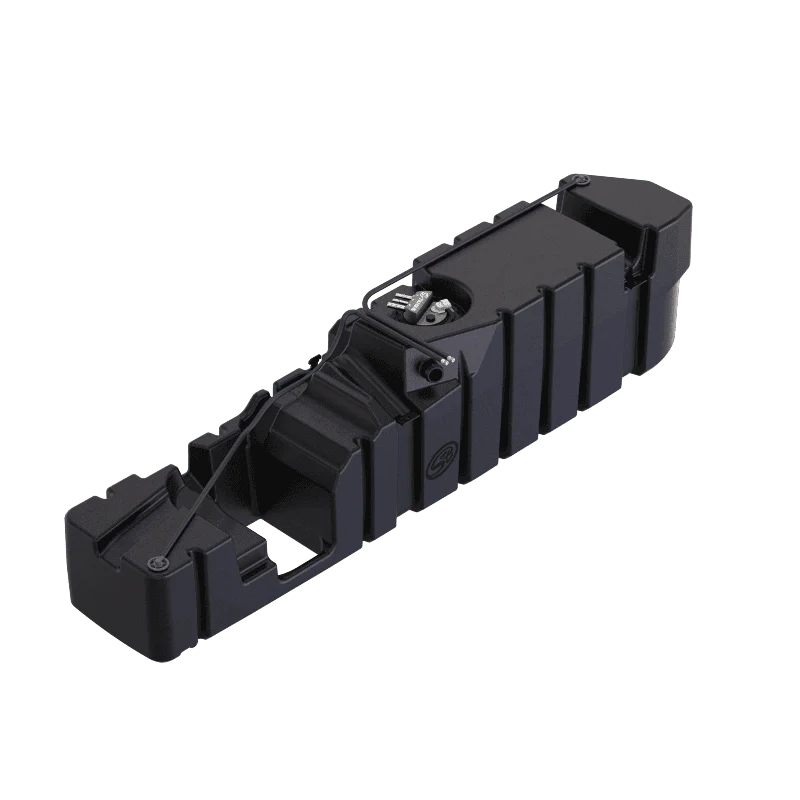
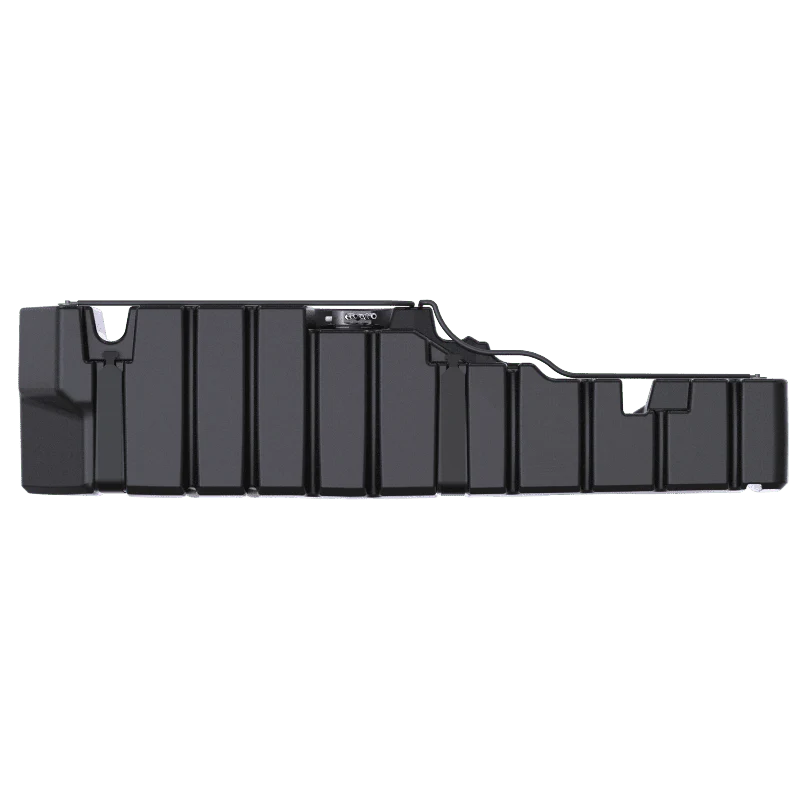
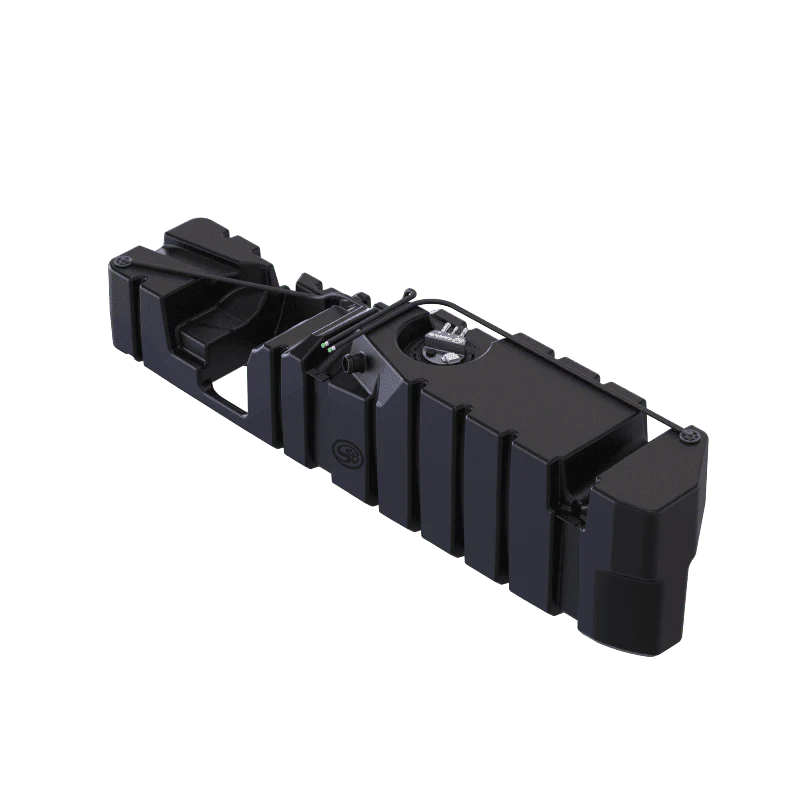
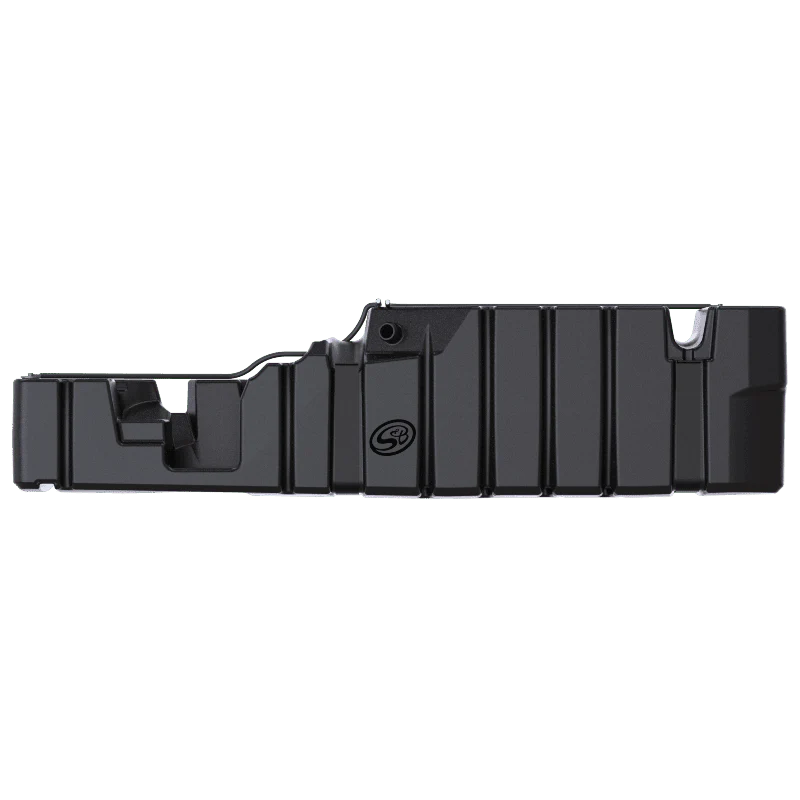
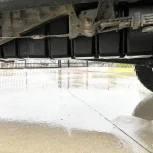
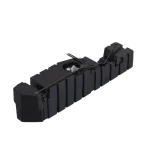
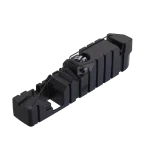
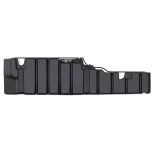
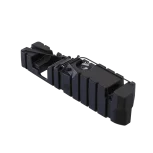
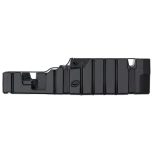

S&B 65 Gallon High-Capacity Fuel Tank (10-1013) for 2001-2004 GM Duramax 6.6L LB7 Crew Cab – Long Bed
$1,449.00
- The distance to empty (DTE) on GM trucks can’t be reprogrammed, so it will show about half the mileage that is really left. This occurs with all aftermarket high-capacity fuel tanks.
- The fuel gauge will operate properly. When you fill up your tank, the fuel gauge will remain on full until about 4-5 gallons have been used and then the gauge will start to move normally. GM trucks monitor for an inoperative fuel gauge, so in some situations, until it starts to move, the truck’s computer will drop the gauge to empty to get the driver’s attention even though your tank is full. The gauge will return to its normal position after restarting the engine. Once the fuel level drops 4-5 gallons from full, the fuel gauge will return to its normal operation.
- The bottom of the S&B tank has more surface area than the OE, so there will be a greater fuel reserve when the low fuel indicator comes on.
Do you have an Auxiliary Fuel Tank? Read why using these with our tanks will void the Lifetime Warranty.
| Weight | 50 lbs |
|---|---|
| Dimensions | 90 × 18 × 18 in |
Fitment
| Year | Make | Model | Engine |
|---|---|---|---|
| 2001-2004 | Chevrolet | Silverado 2500 | 6.6L, Diesel, LB7 |
| 2001-2004 | Chevrolet | Silverado 3500 | 6.6L, Diesel, LB7 |
| 2001-2004 | GMC | Sierra 2500 | 6.6L, Diesel, LB7 |
| 2001-2004 | GMC | Sierra 3500 | 6.6L, Diesel, LB7 |
Features
| Compatible with gooseneck and 5th wheel | Yes |
| Compatible with oe skid plate | No |
| Drain | No |
| Embedded fitting thread size | 1/2″ NPT |
| Ground clearance compare to oe tank | 5-7/8″ |
| Oem capacity | 34 |
| Sending unit | S&B |
| Straps included | Yes |
| Sump | No |
| S&B Capacity (Approximate) | 65 |
| Transfer pump ready | Yes |
| Weight dry | 50lbs |
Installation
Before You Start
- Please read the entire product guide before proceeding
- Ensure all parts are present.
- If you are missing any parts, please call or text us at (909)-675-1313
- Do not work on your vehicle while the underbody components are hot.
- Make sure the vehicle is in park or the parking brake is set if you plan on working on the ground. If working on a lift, make sure the vehicle is lifted safely and securely.
Drain your original fuel tank before beginning the S&B Installation process. S&B Tanks recommends removing only an empty or near empty tank for your safety. We recommend using a siphon or electronic transfer pump.
Disconnect and isolate both of the negative battery cables
Before installing S&B Tank, conduct pressure test to ensure o’ring is properly seated.
In-bed Auxiliary Fuel Tanks will void the Lifetime Warranty.
Nozzle at high flow fuel station may continue to “click off”. Tank is designed to work at regular fuel stations.
Required Tools
Flathead Screwdriver
15mm Socket
Ratchet
12″ Driver Extension
Fuel Line Disconnect Tool – 3/8″ and 1/2″
STEP 1
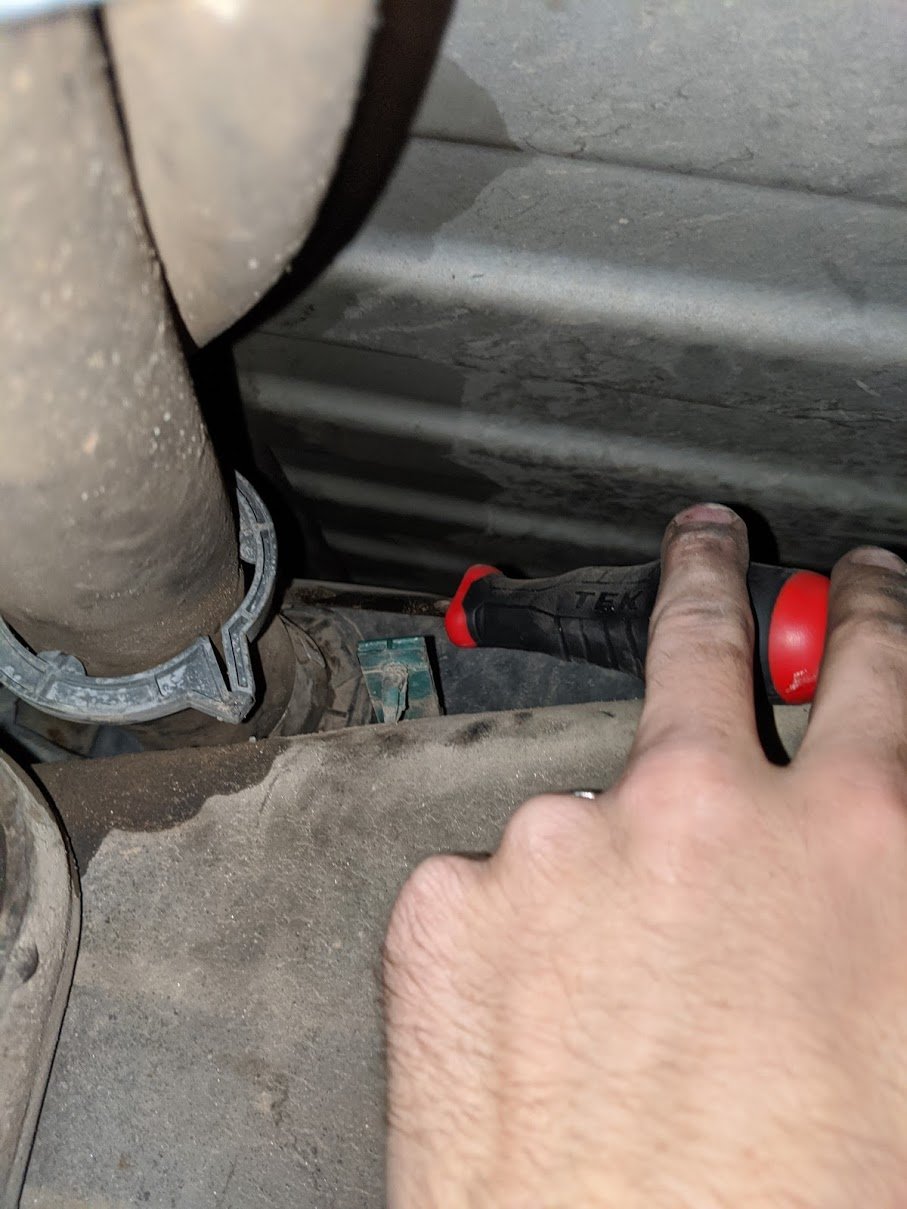
Remove the filler hose from the tank or at the hose clamp connecting the hose to the metal filler neck
STEP 2
If you truck came equipped with a skid plate, remove it with a 13mm socket.
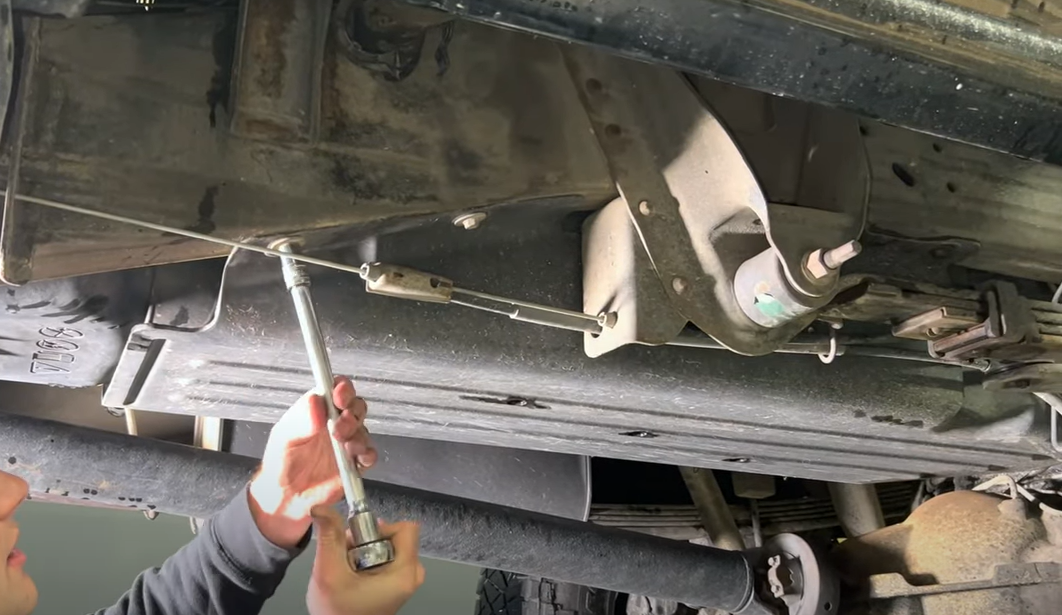
STEP 3
With fuel line disconnect tools, disconnect the fuel feed and return lines above the fuel cooler.
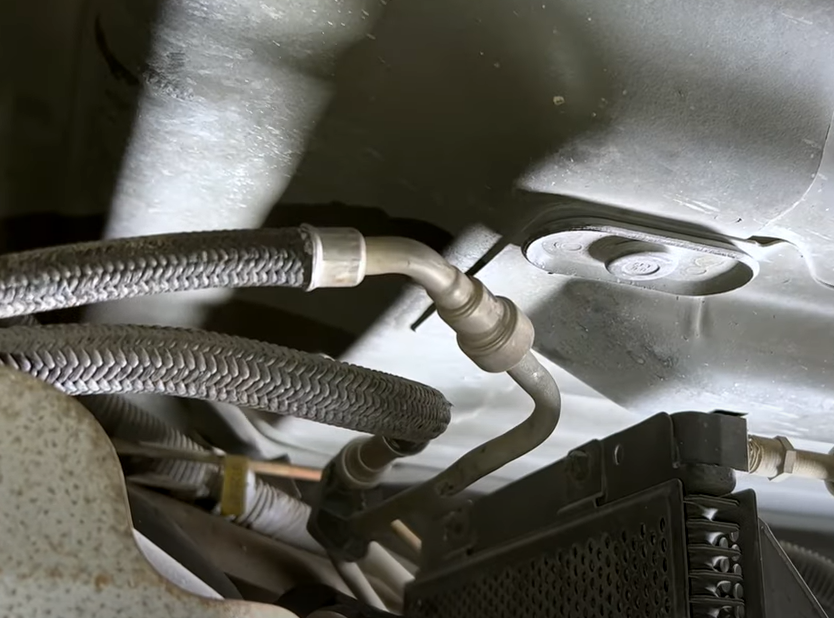
STEP 4
With a jack supporting the bottom of the tank. Use a 15mm socket to remove the front and rear straps.
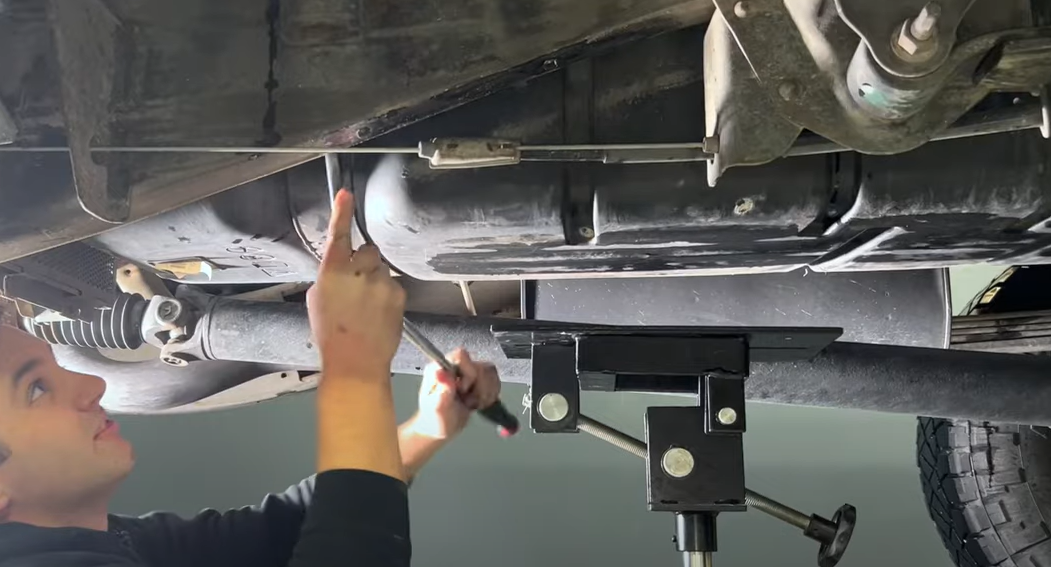
STEP 5 FOR 10-1010 TANK
Remove the electrical connector by sliding out the grey tab and depressing the top bottom.
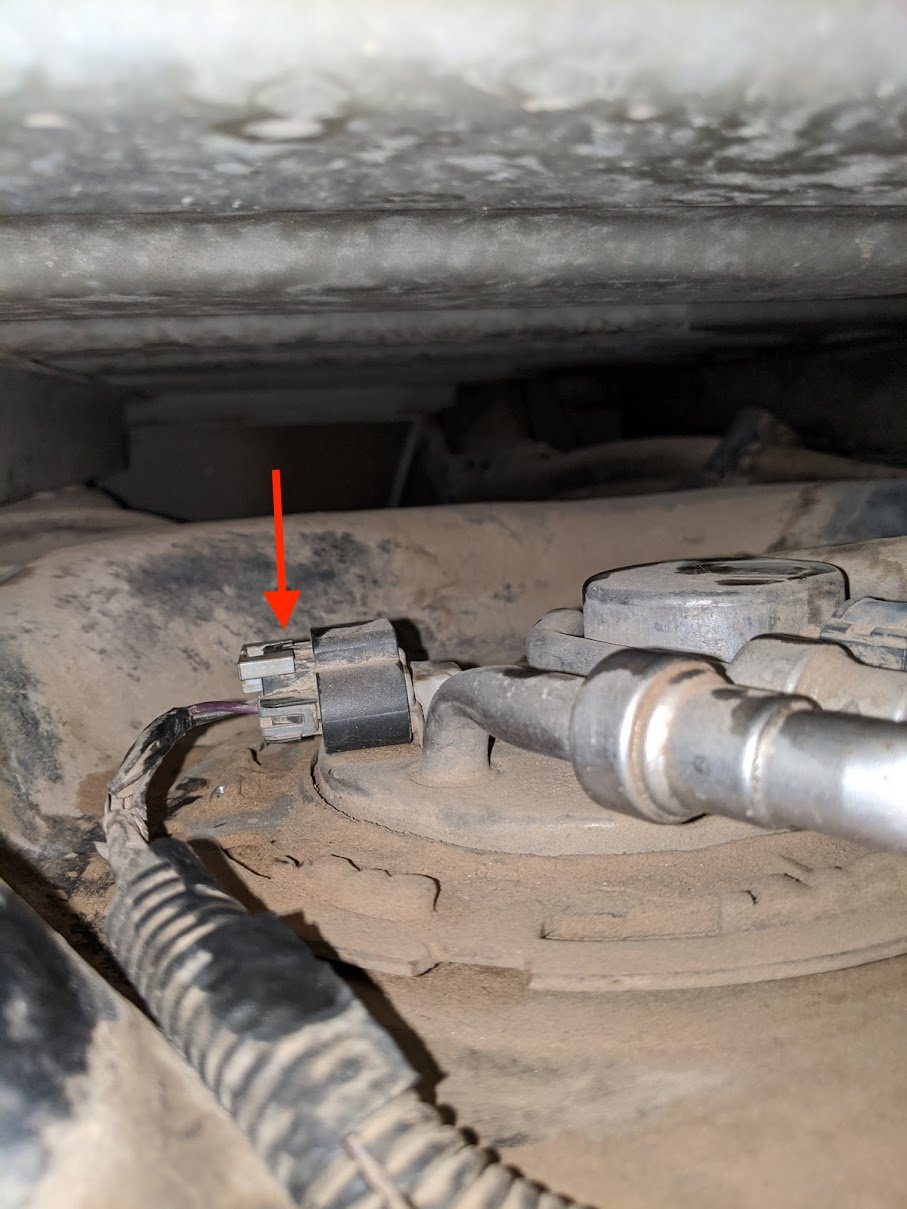
STEP 5 FOR 10-1013 TANK
Remove the electrical connector by releasing the tab on the side and pulling out on the connector.
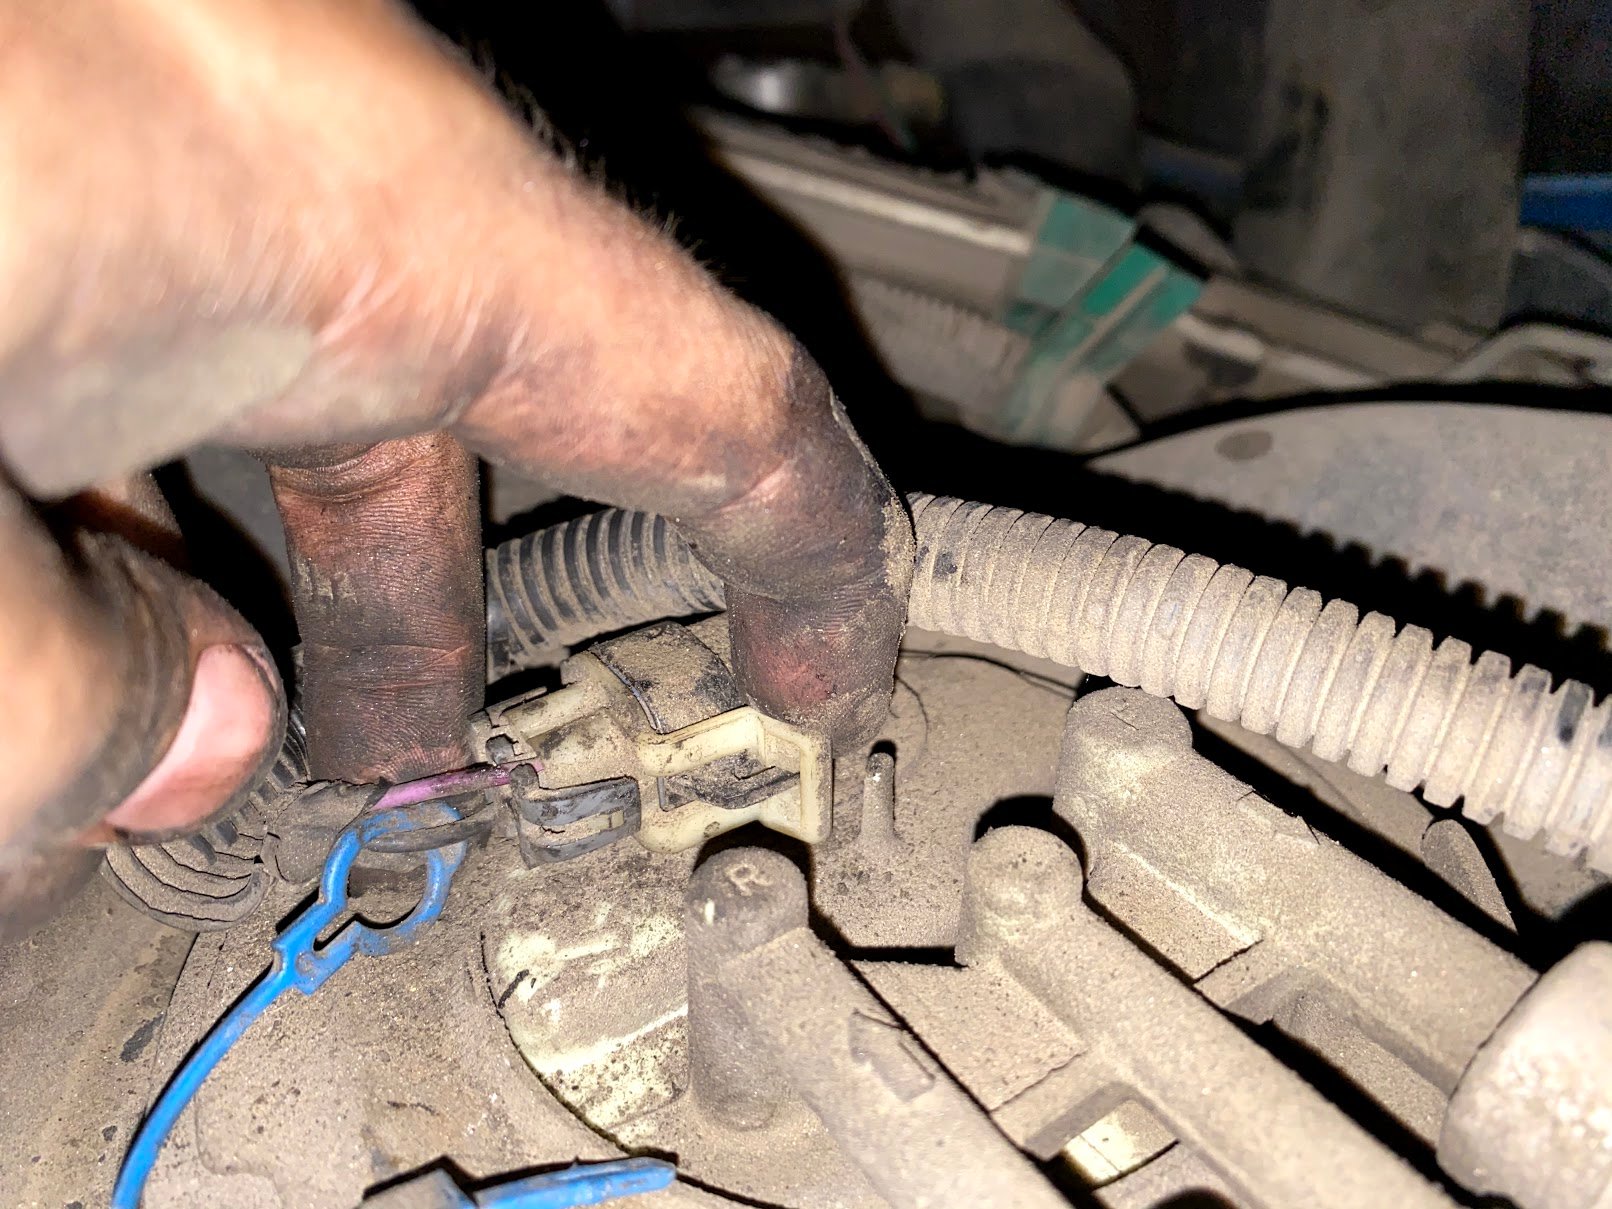
STEP 6 FOR 10-1010
Remove the hose clamp securing the fuel vent hose to the sending unit barb.
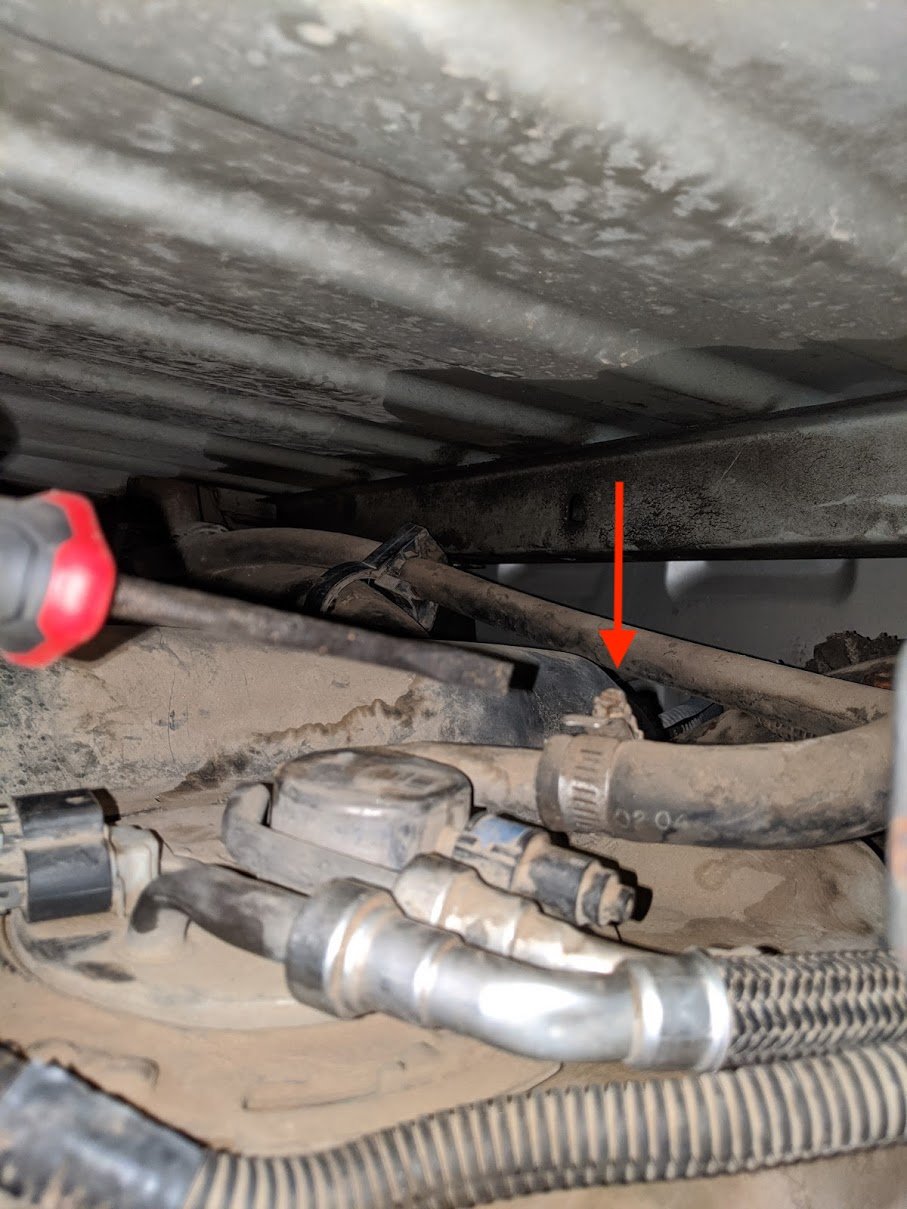
STEP 7
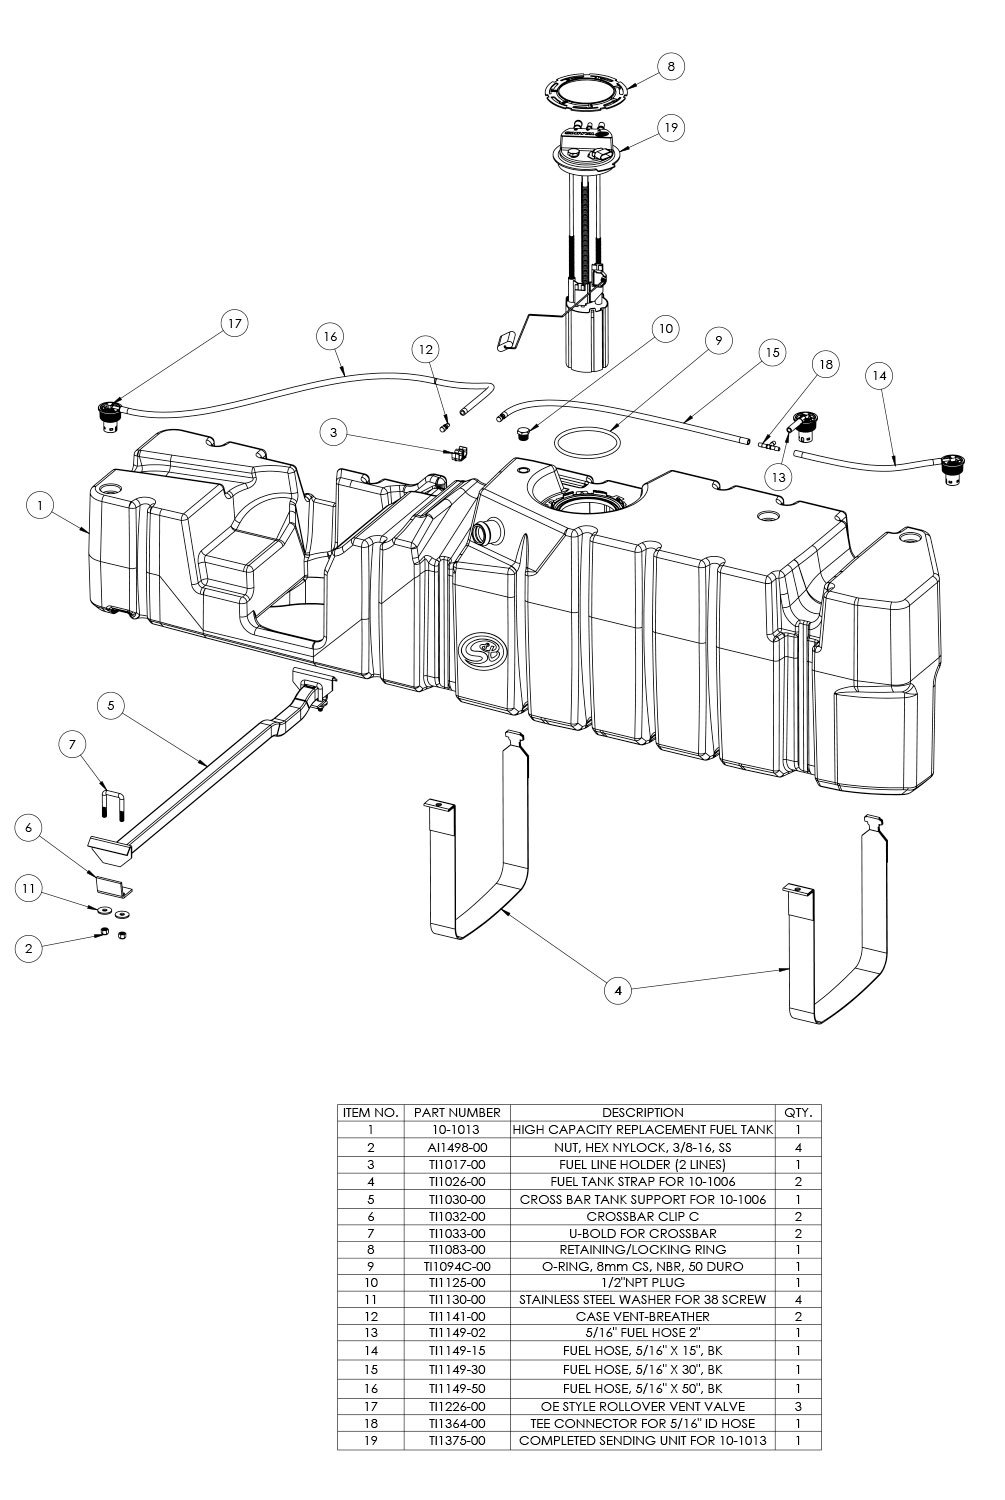
Remove the OEM fuel tank. Place the included S&B o’ring into the o’ring groove and install the float onto the sending unit once the bucket is through the opening in the S&B Tank. Please watch the S&B Sending Unit Install Video Here https://youtu.be/XXbu9-RhFGo if you received a tank with the updated S&B Lift Pump Ready Sending Unit. This Install video covers how to install the new S&B Sending Unit on stock trucks and on trucks equipped with an aftermarket lift pump. Sending Unit Install Diagrams included at the end of these instructions as well. Sending unit install diagrams are linked here https://docs.google.com/presentation/d/1tBTmwXPwTT7rt1JspK2FnAxM-zCUt1RK50Uhz3AFq24/edit?usp=sharing
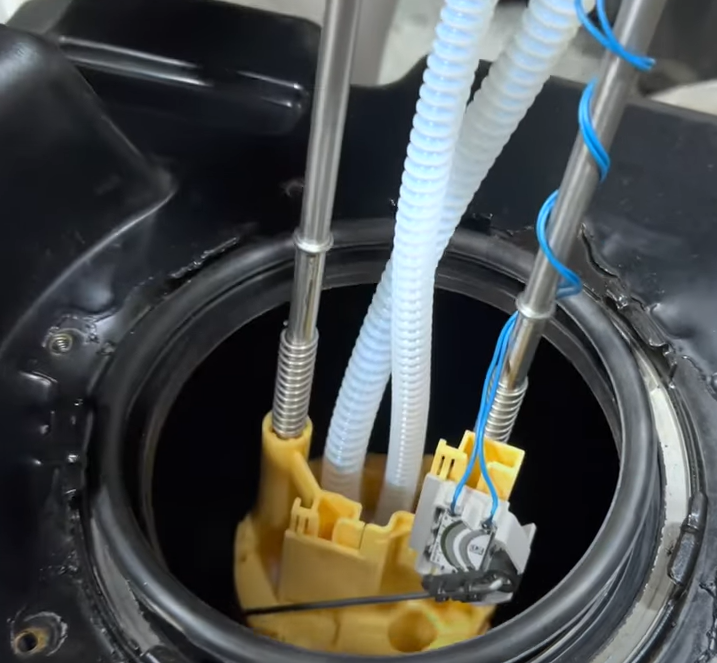
STEP 8
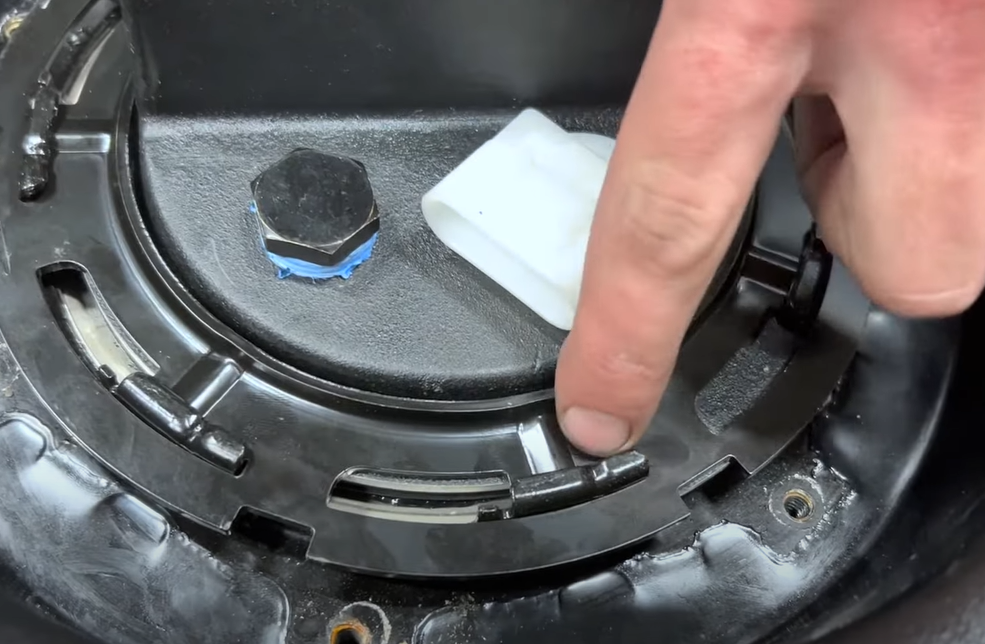
With the tab on the sending unit facing the arrow on the S&B Tank, install the included o’ring over the sending unit flange. Either use a dead blow/pry bar or fuel locking ring tool to hit the ring clockwise until it passes under the indention in the ring on the S&B Tank.
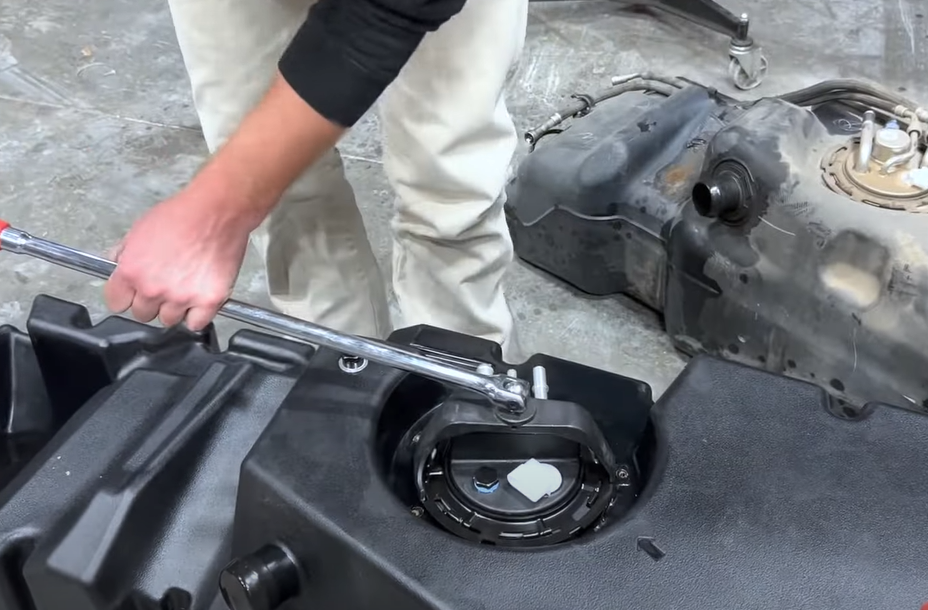
STEP 8B
This is what the ring looks like in the locked position.
STEP 9
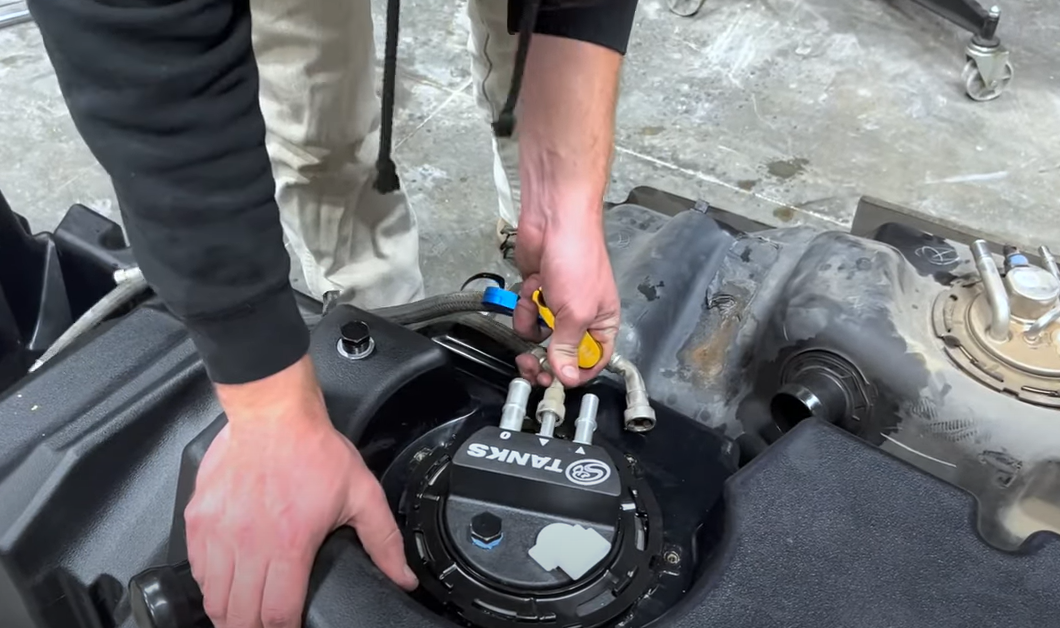
Transfer the feed and return line from the OEM tank to the S&B Tank
STEP 10 FOR 10-1006
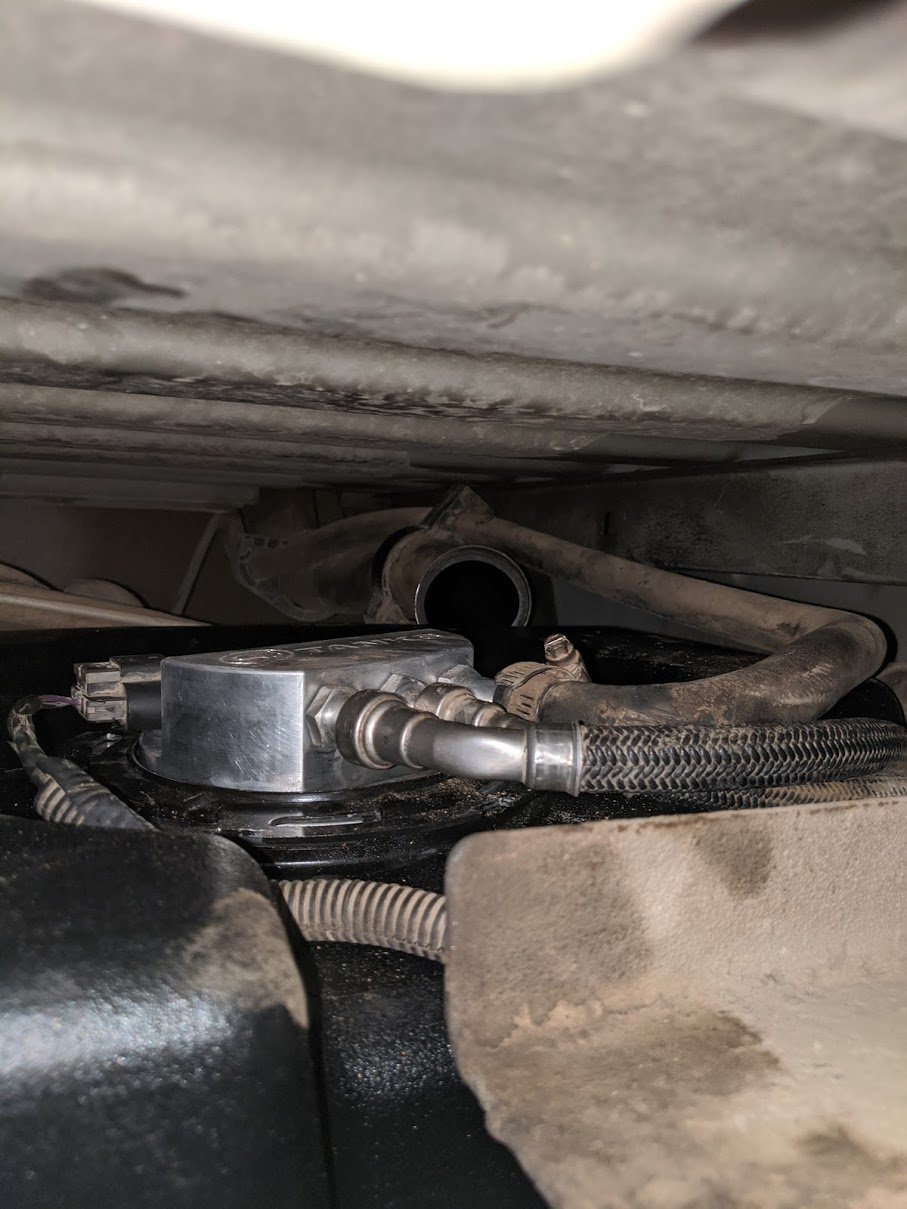
Lift the tank into place. Throw the 5/16″ ROV hoses over the frame rail to prevent them from getting pinched in between a crossmember when installing the tank. Reconnect the electrical connector and vent hose to the sending unit.
STEP 11
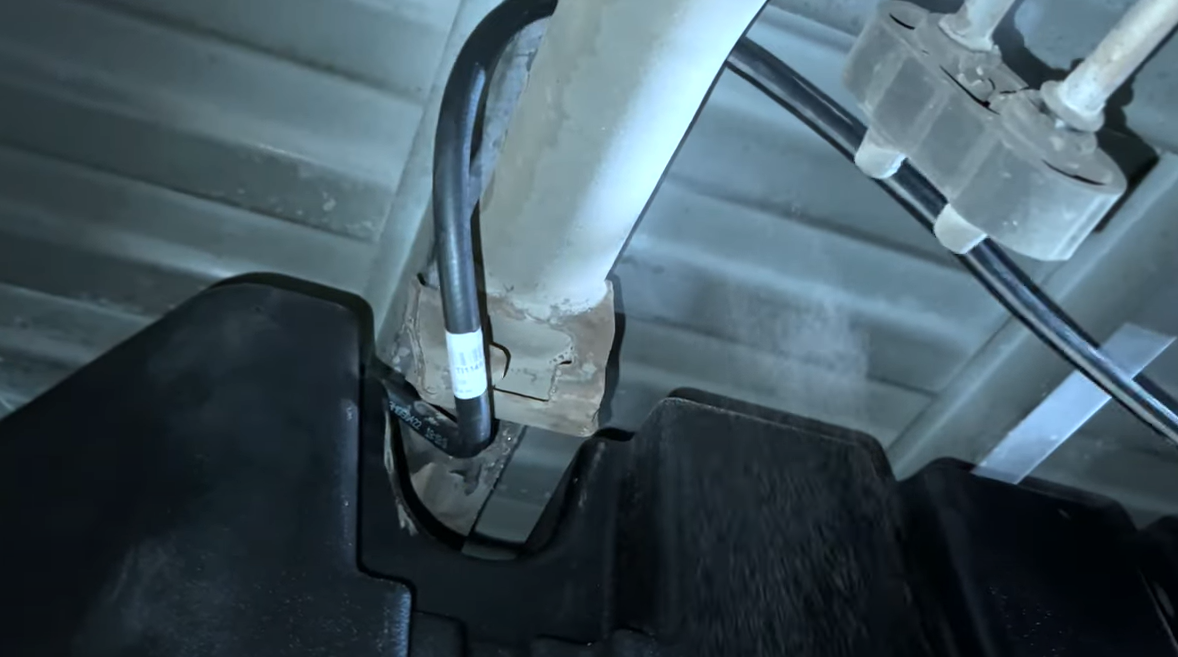
Route the hoses over the crossmembers and to the filler hose
STEP 12
Reconnect the filler
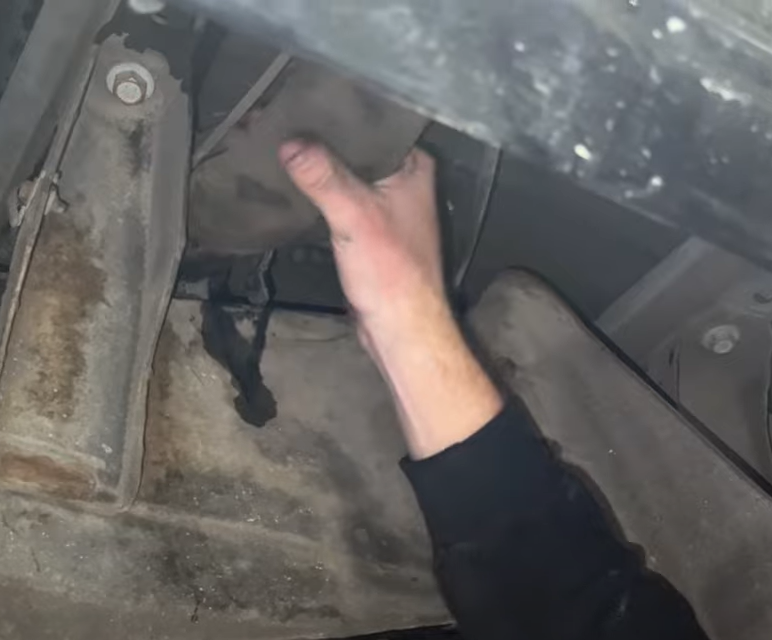
STEP 13
Install the 2 S&B fuel tank straps.
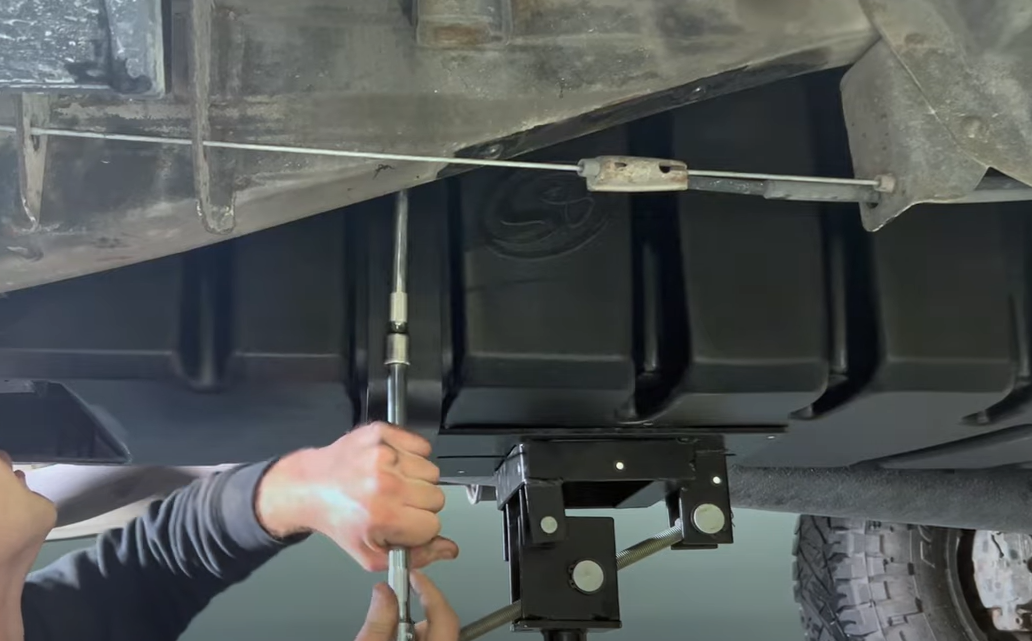
STEP 14
Install the S&B support bar in front of the S&B Tank. The hooks should be over the inside lip of the frame rail. Then by pressing up on the tank and pushing on the bar, slide the bar under the S&B Tank until it is in the groove on the S&B Tank.
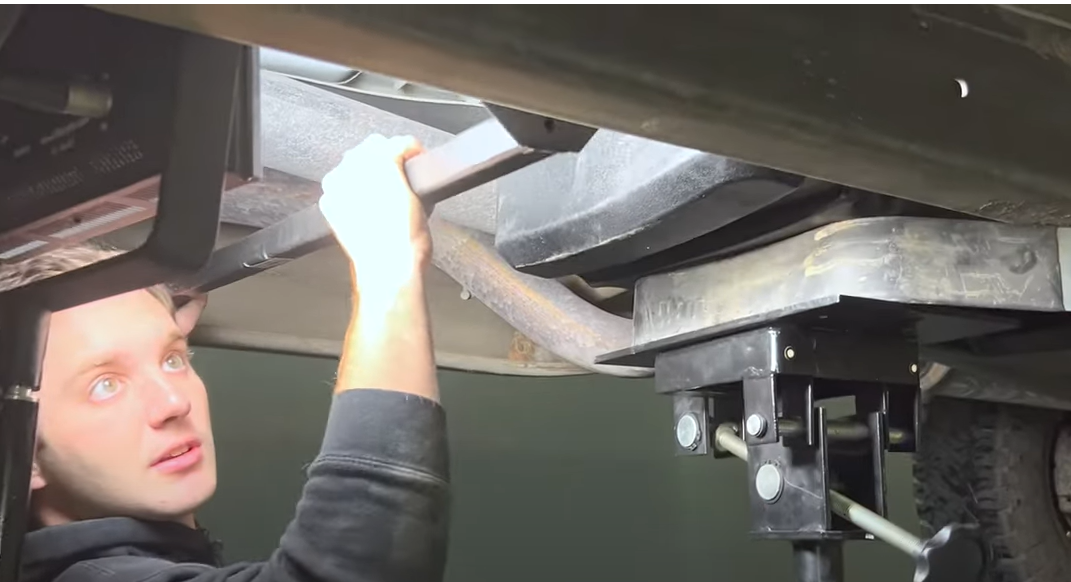
STEP 15
To secure the S&B support bar to the frame. Slide the u-bolts over the bar and slide as close to the frame as possible. Then install the clips, washers and lock nuts onto the u-bolt.
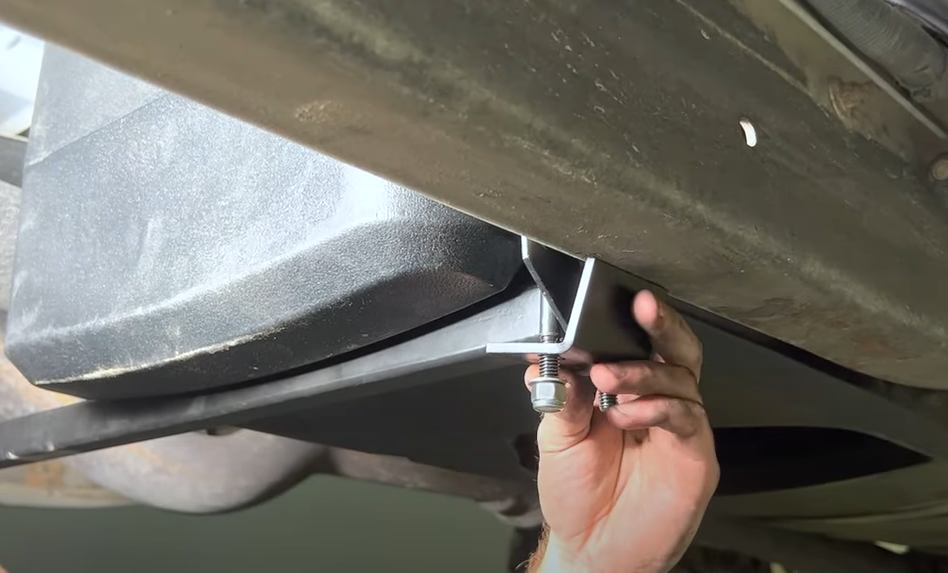
Step 16 FINAL CHECKLIST
This final checklist is very important.
#1 Make sure all bolts and nuts are safely fastened and torqued.
#2 Ensure there is proper driveshaft clearance.
#3 Double check fuel line connections, the electrical connection as well as the vent and fill lines.
#4 Lastly, fill the tank full and check for any leaks. If you have any questions, call or text us at 909.675.1313
You must be logged in to post a review.











Reviews
There are no reviews yet.