


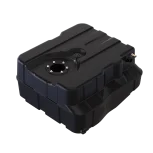

S&B 40 Gallon (After Axle) High-Capacity Fuel Tank (10-1002-1) for 2000-2010 Powerstroke 7.3L, 6.0L, 6.4L CC
$899.00
Important Note: Skid plates and straps are NOT included. These parts are reused. Torque Spec is 30 in/lbs for sending unit nuts
Do you have an Auxiliary Fuel Tank? Read why using these with our tanks will void the Lifetime Warranty.
This is a direct replacement to the OEM 40 gallon tank. This and your current OEM tank are the same size and shape. This poly tank resolves the problem of the OEM steel tank delaminating and damaging your fuel system. This tank does NOT fit 1999 trucks.
| Weight | 35 lbs |
|---|---|
| Dimensions | 34 × 34 × 18 in |
Fitment
This tank does NOT fit 1999 trucks.
| 2000-2003 | Ford | F-350 | 7.3L, Diesel |
| 2000-2003 | Ford | F-450 | 7.3L, Diesel |
| 2003-2007 | Ford | F-350 | 6.0L, Diesel |
| 2003-2007 | Ford | F-450 | 6.0L, Diesel |
| 2008-2010 | Ford | F-350 | 6.4L, Diesel |
| 2008-2010 | Ford | F-450 | 6.4L, Diesel |
Features
| Compatible with gooseneck and 5th wheel | Yes |
| Compatible with oe skid plate | Yes |
| Dimensions | 31.84″ X 31.77″ X 14.94″ |
| Drain | Yes |
| Embedded fitting thread size | 1/2″ NPT |
| Ground clearance compare to oe tank | Same |
| Sending unit | OE |
| Straps included | No |
| Sump | No |
| S&B Capacity (Approximate) | 40 gallons |
| Tank type | AFT |
| Transfer pump ready | No |
| Weight dry | 28lbs |
Installation
Before You Start
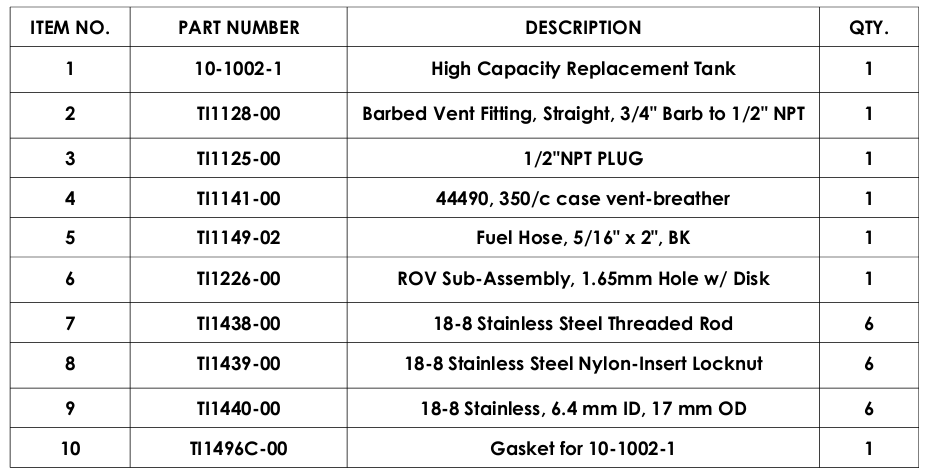
- Please read the entire product guide before proceeding
- Ensure all parts are present.
- If you are missing any parts, please call or text us at (909)-675-1313
- Do not work on your vehicle while the underbody components are hot.
- Make sure the vehicle is in park or the parking brake is set if you plan on working on the ground. If working on a lift, make sure the vehicle is lifted safely and securely.
Required Tools
- 15mm Socket
- 19mm Socket
- Ratchet
- 10″ or 12″ driver extension
- Flathead Screwdriver or 8mm Nut Driver
- Mallet or Hammer
- Transmission or Floor Jack

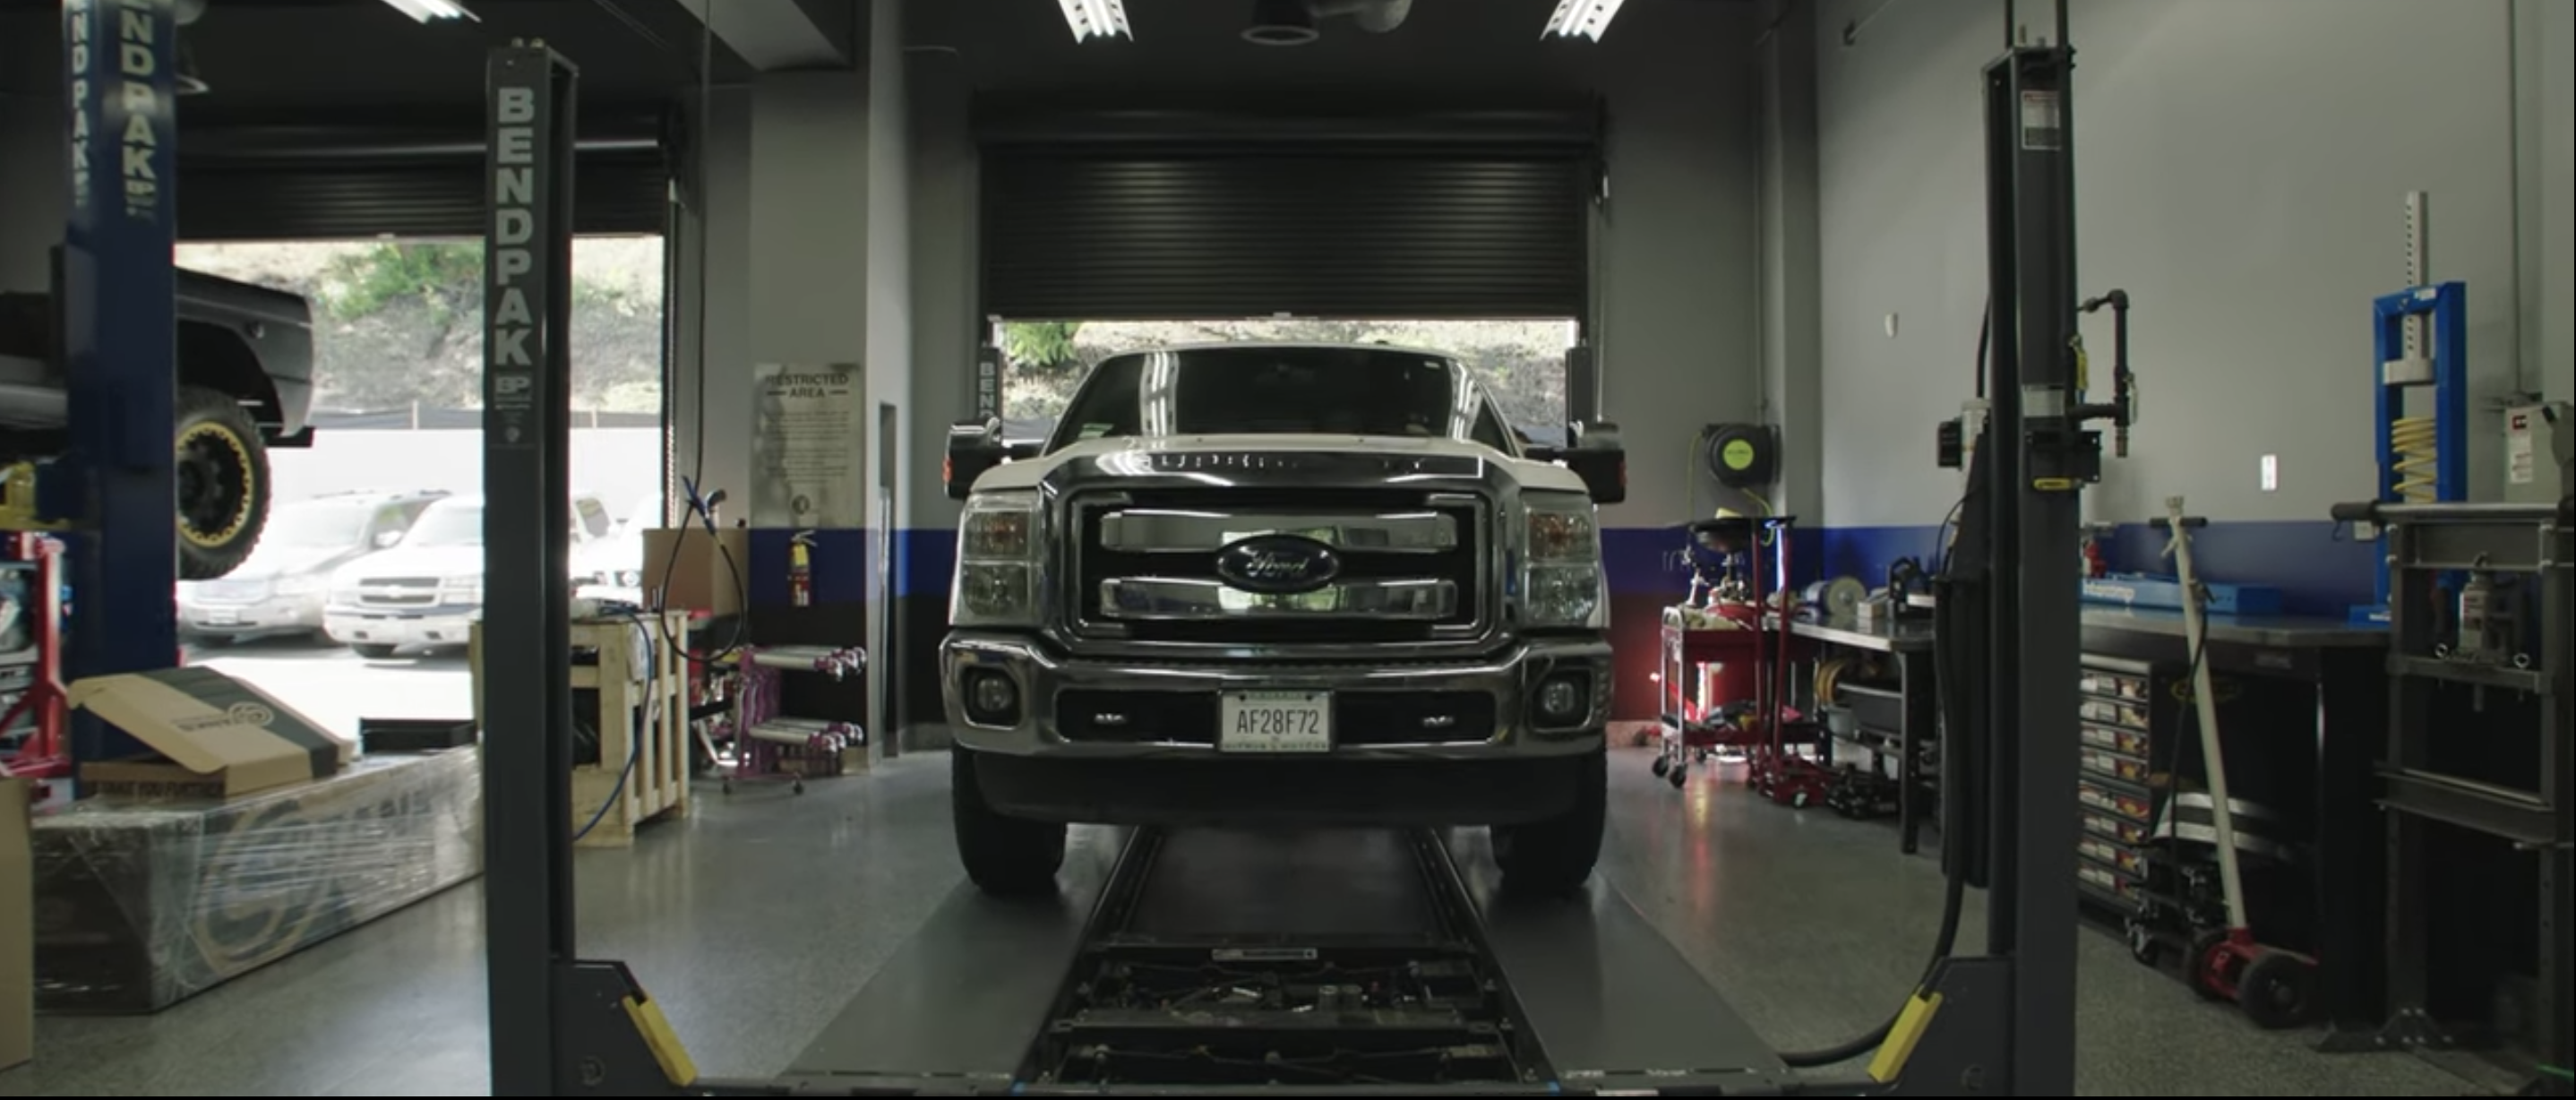
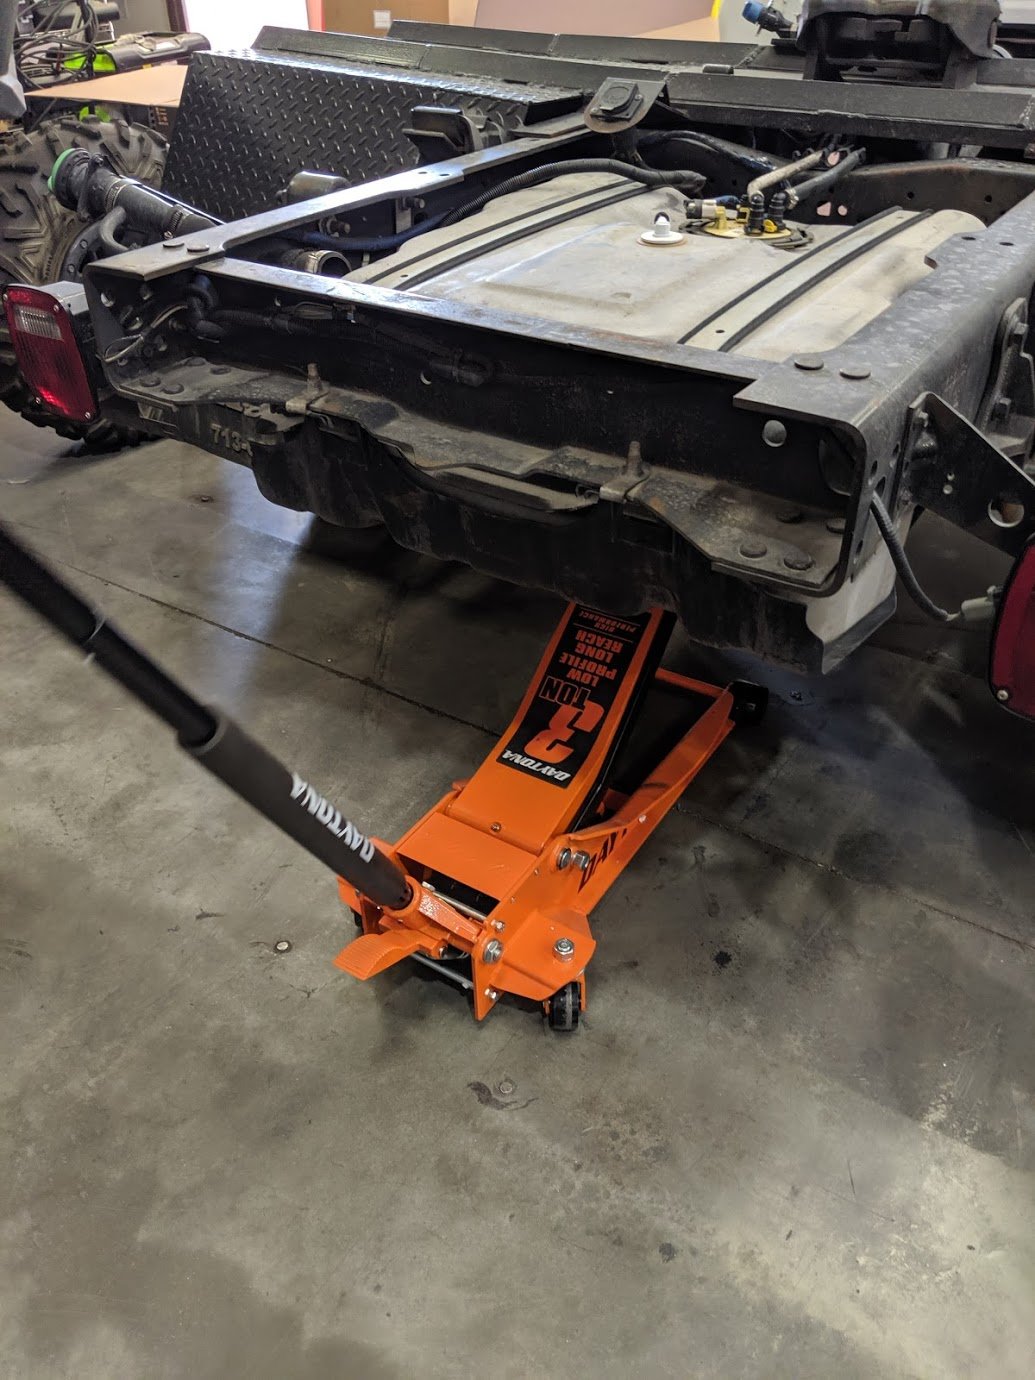
STEP 1
Raise the vehicle up on a lift to working height.
– Installation can be completed without a lift. Make sure the vehicle is safely parked with the parking brake set.
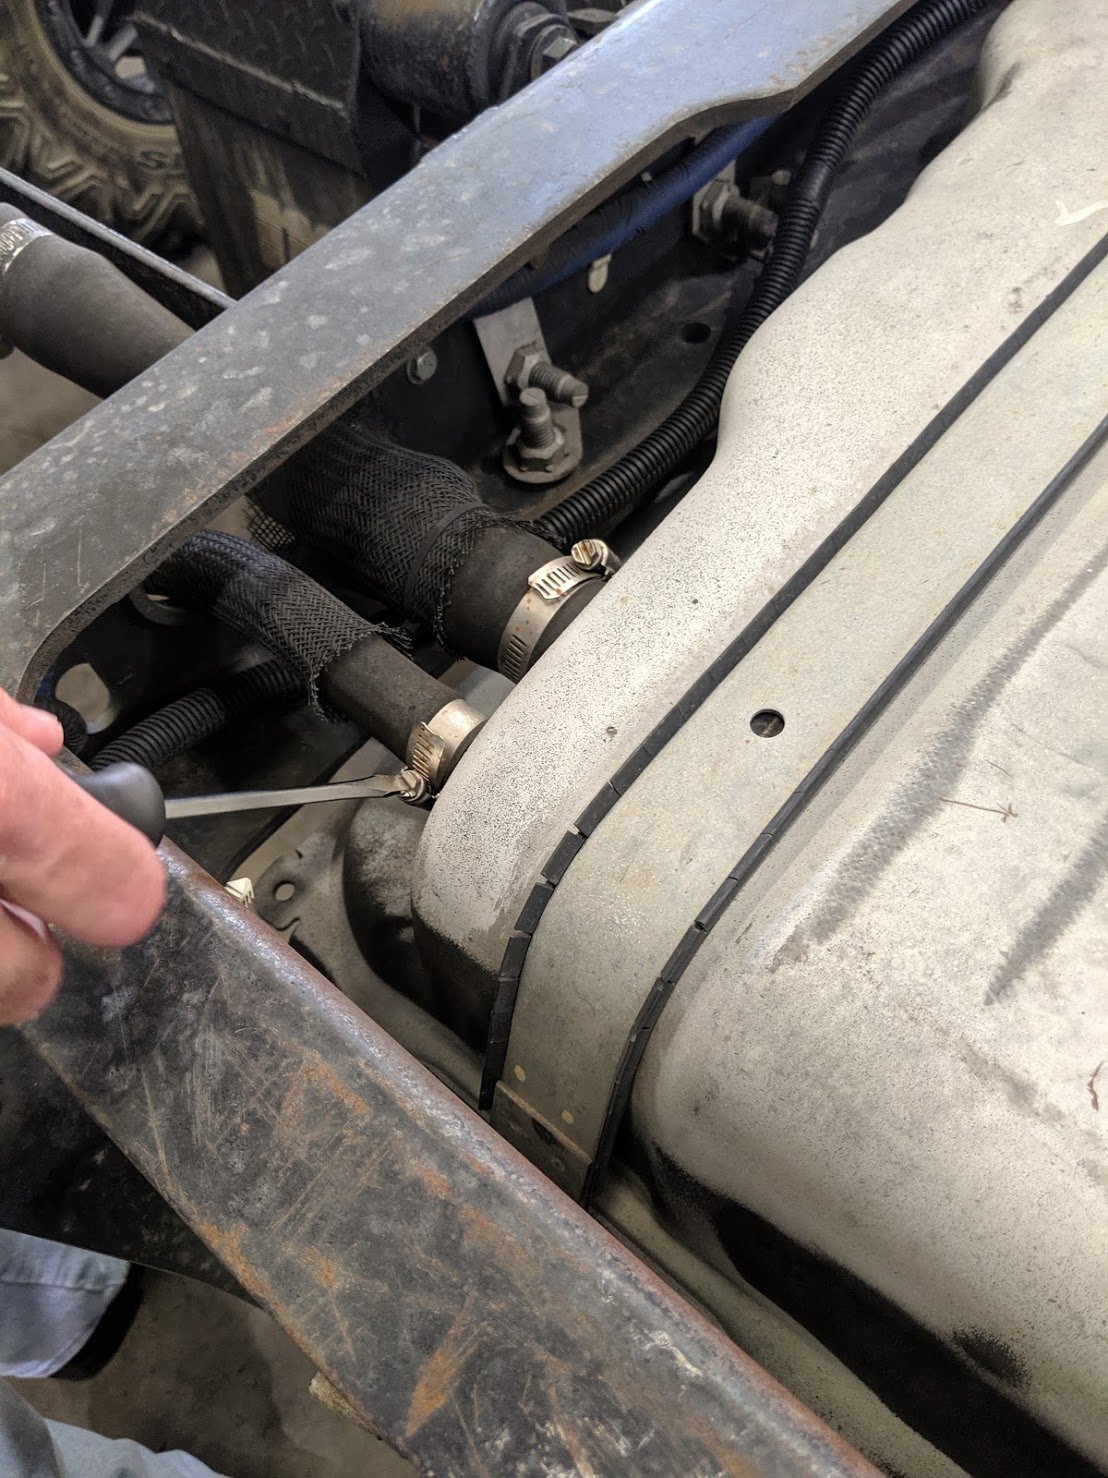
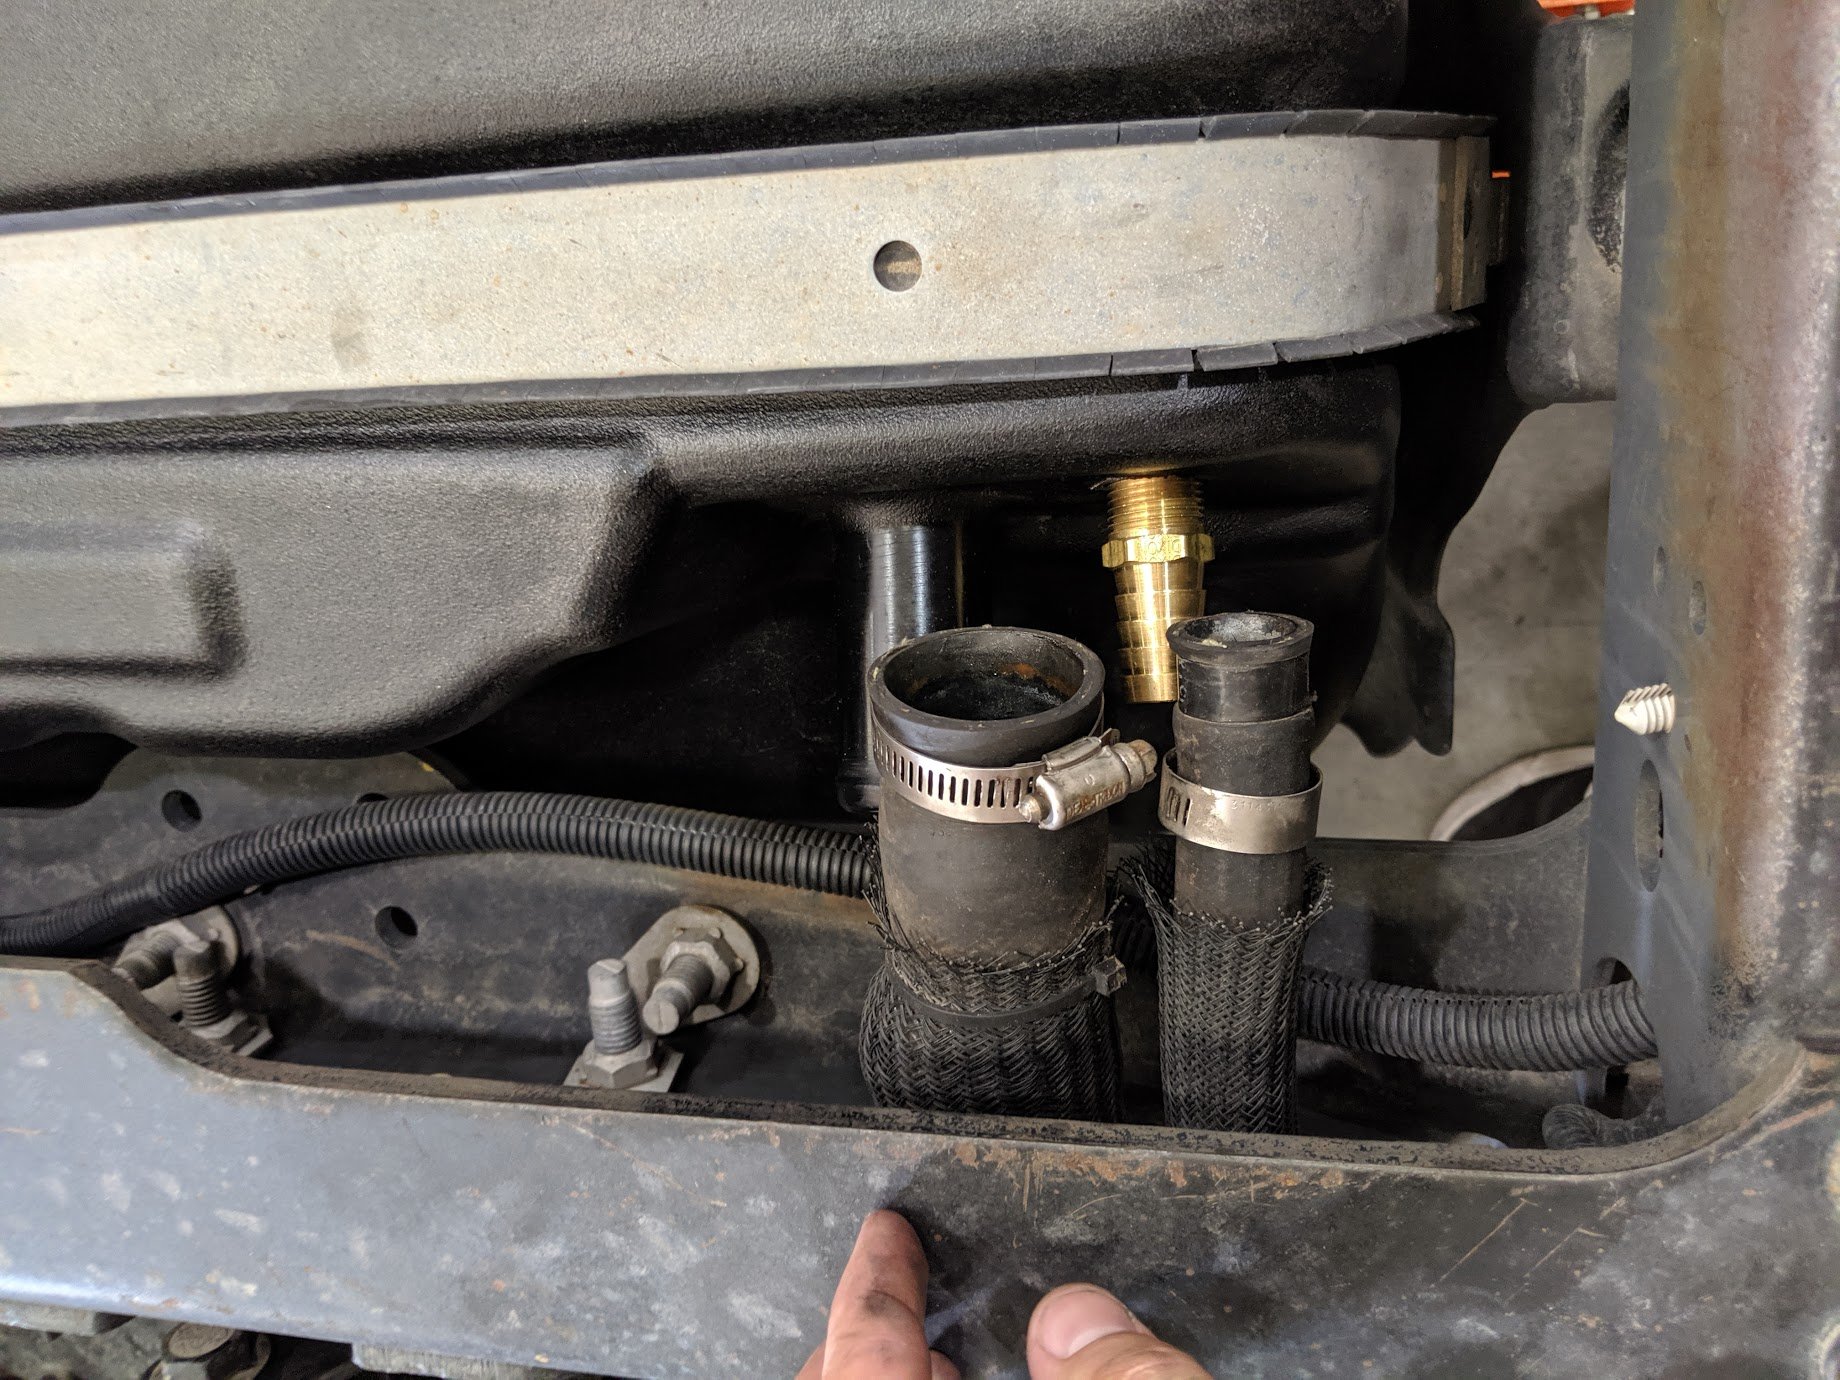
STEP 2
Disconnect the vent and fill hose from the filler/vent neck assembly.
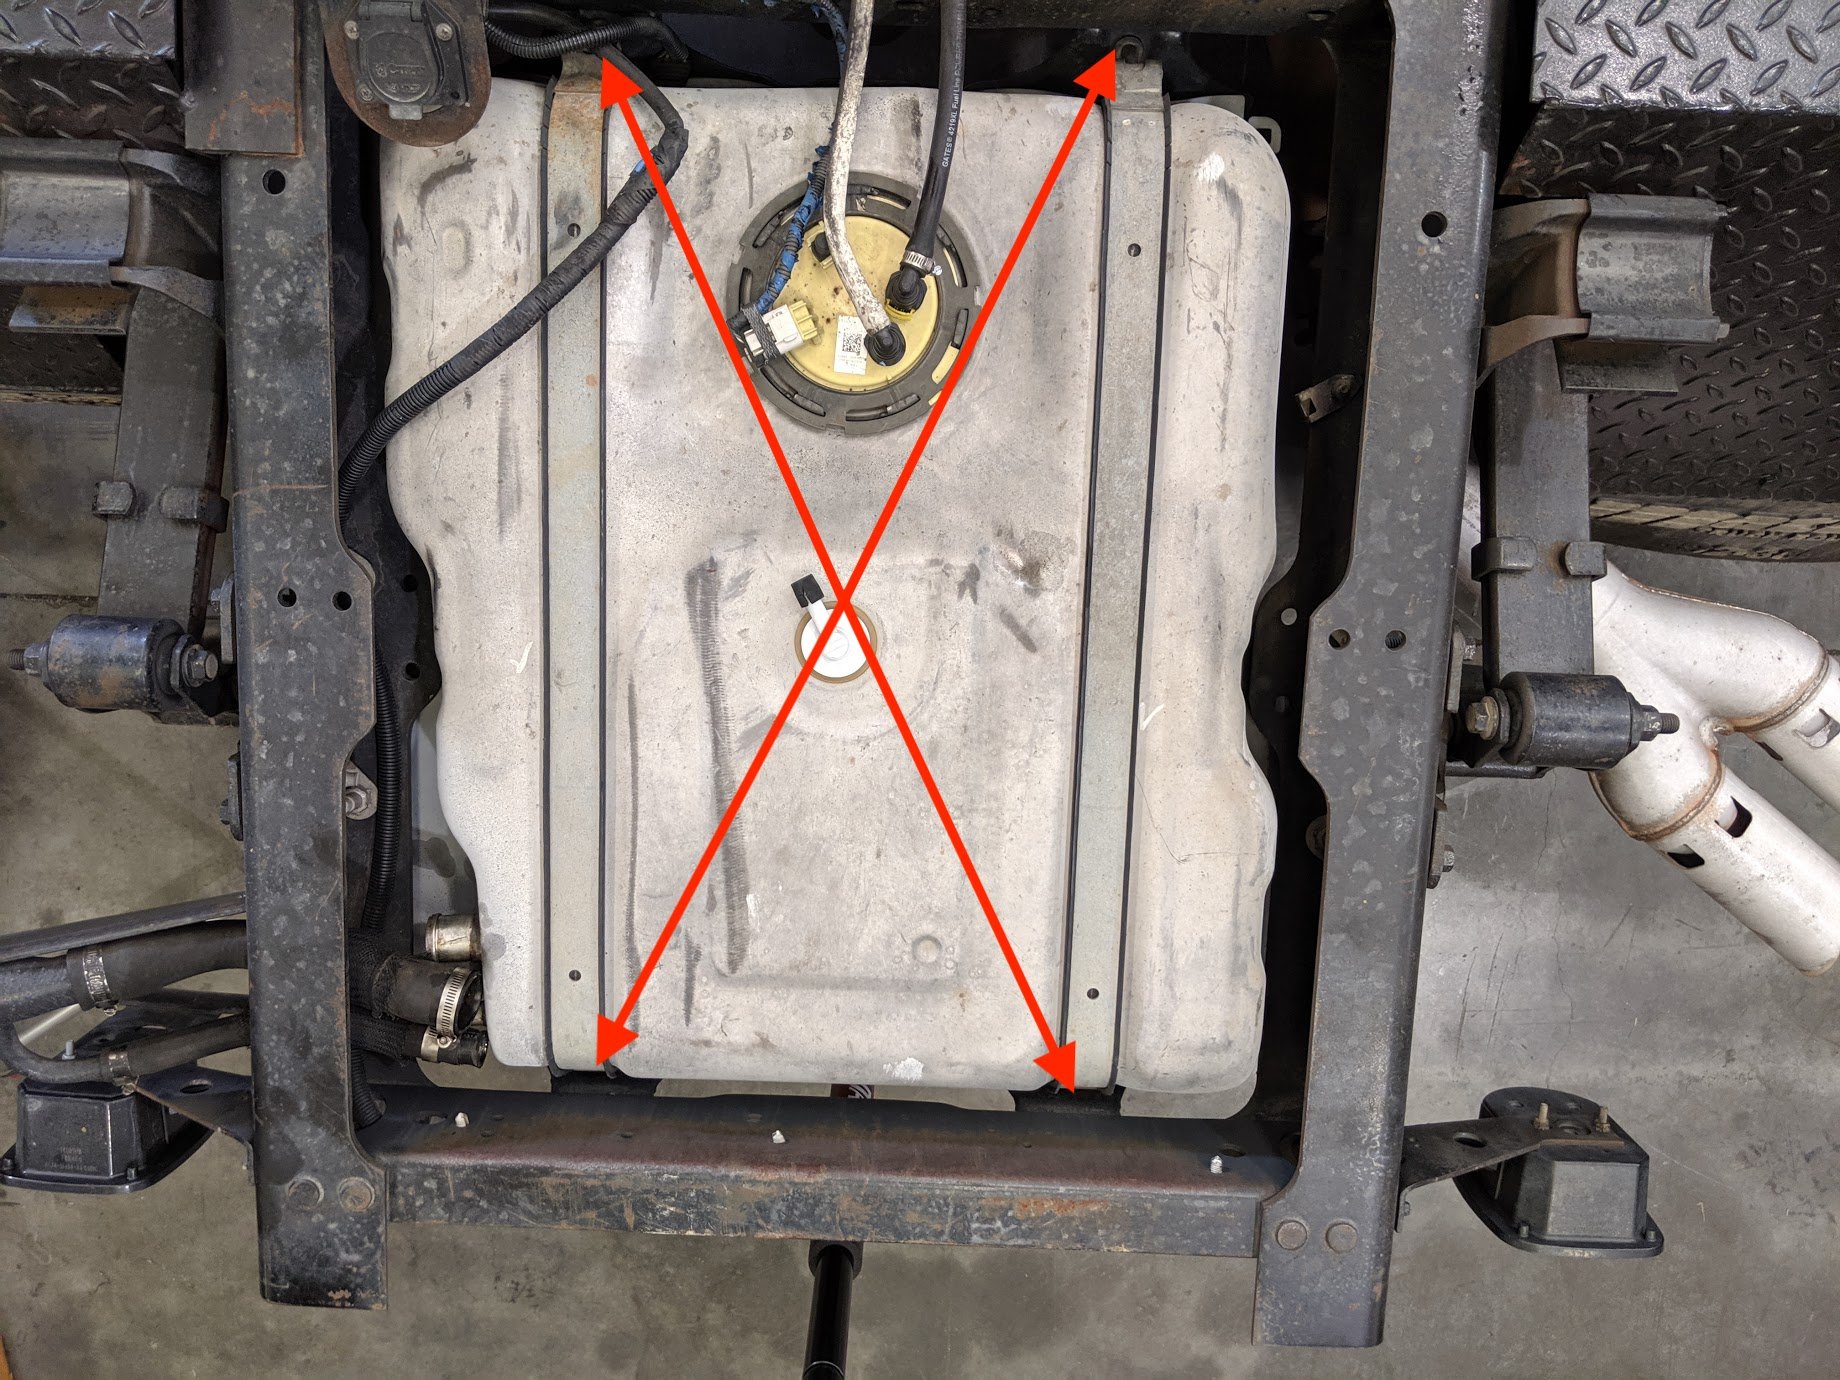
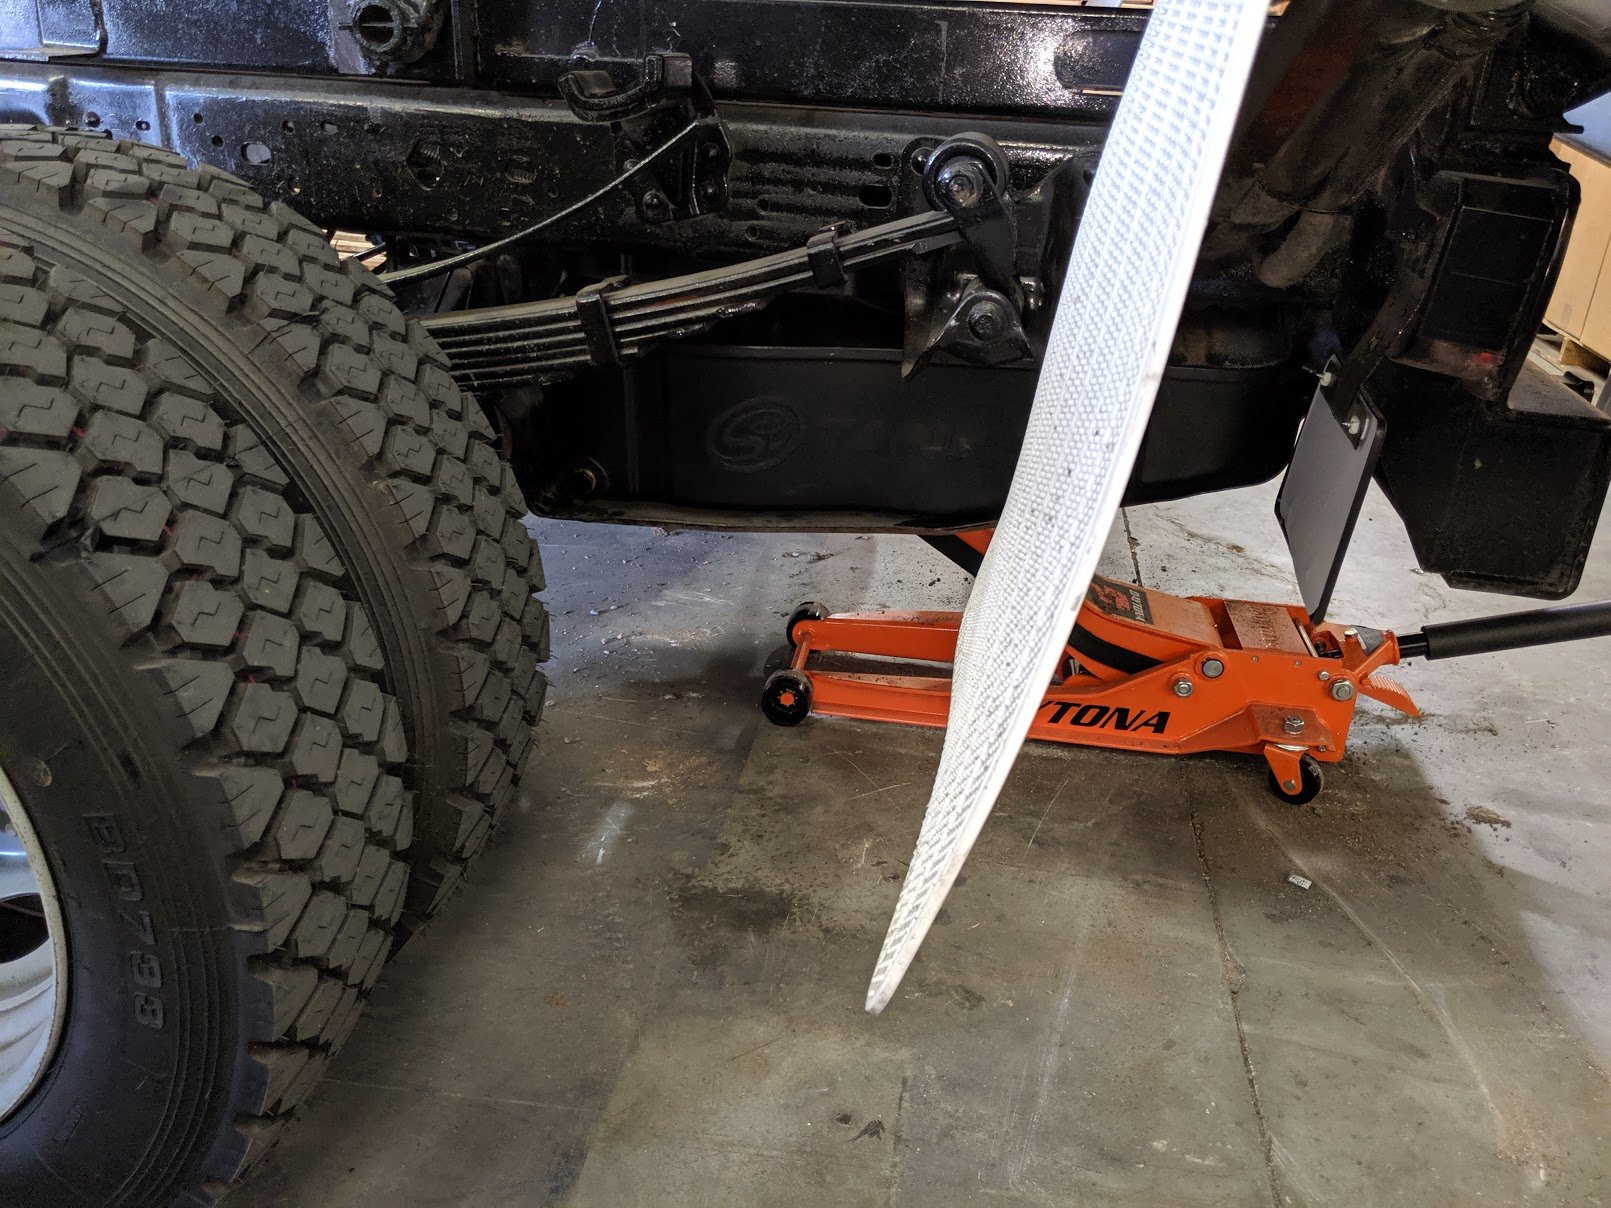
STEP 3
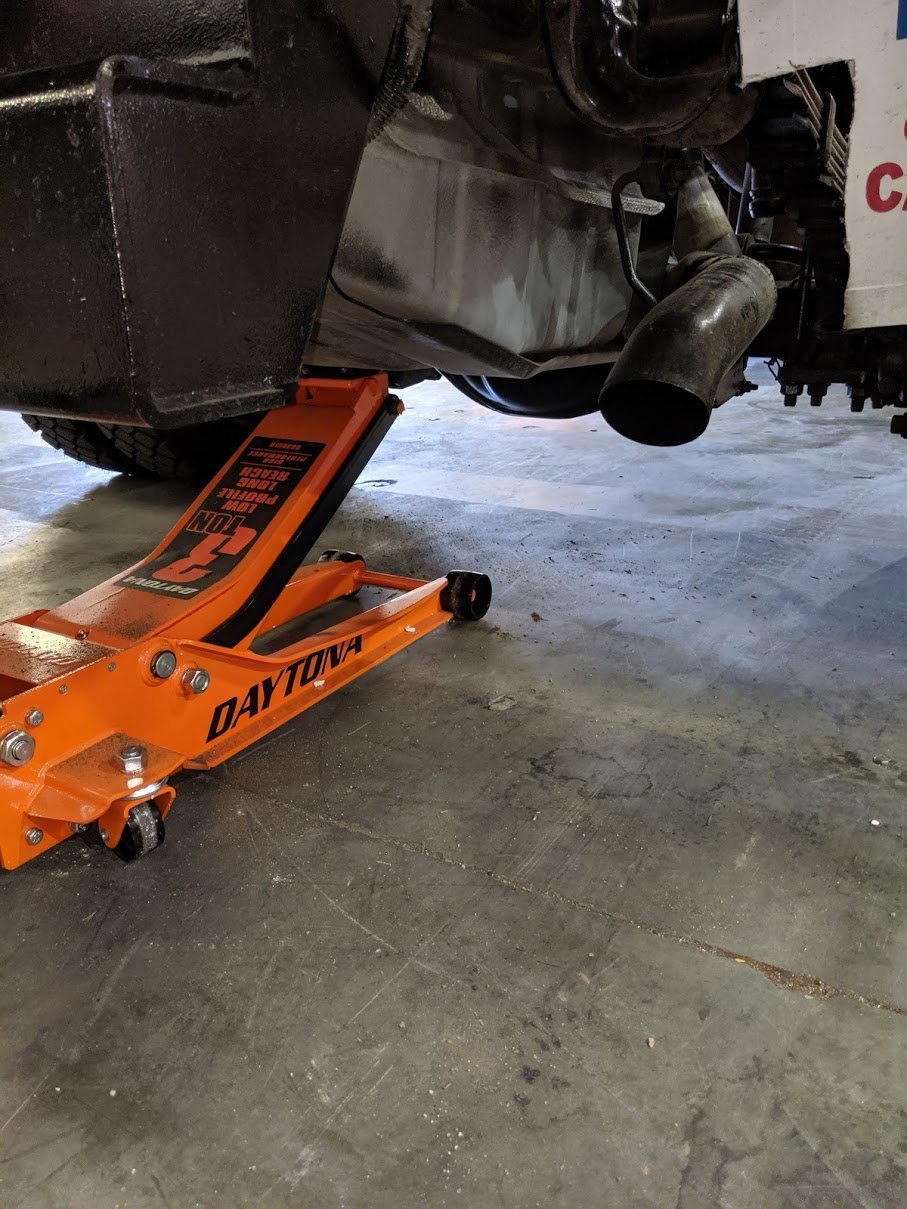
Center the hydraulic jack underneath the fuel tank and raise until the jack contacts the tank. Caution: Support the tank properly as remaining fuel can slosh and cause the tank to shift.
– Lift Install: Hydraulic Jack
– Floor Install: Floor jack with added support to properly hold tank

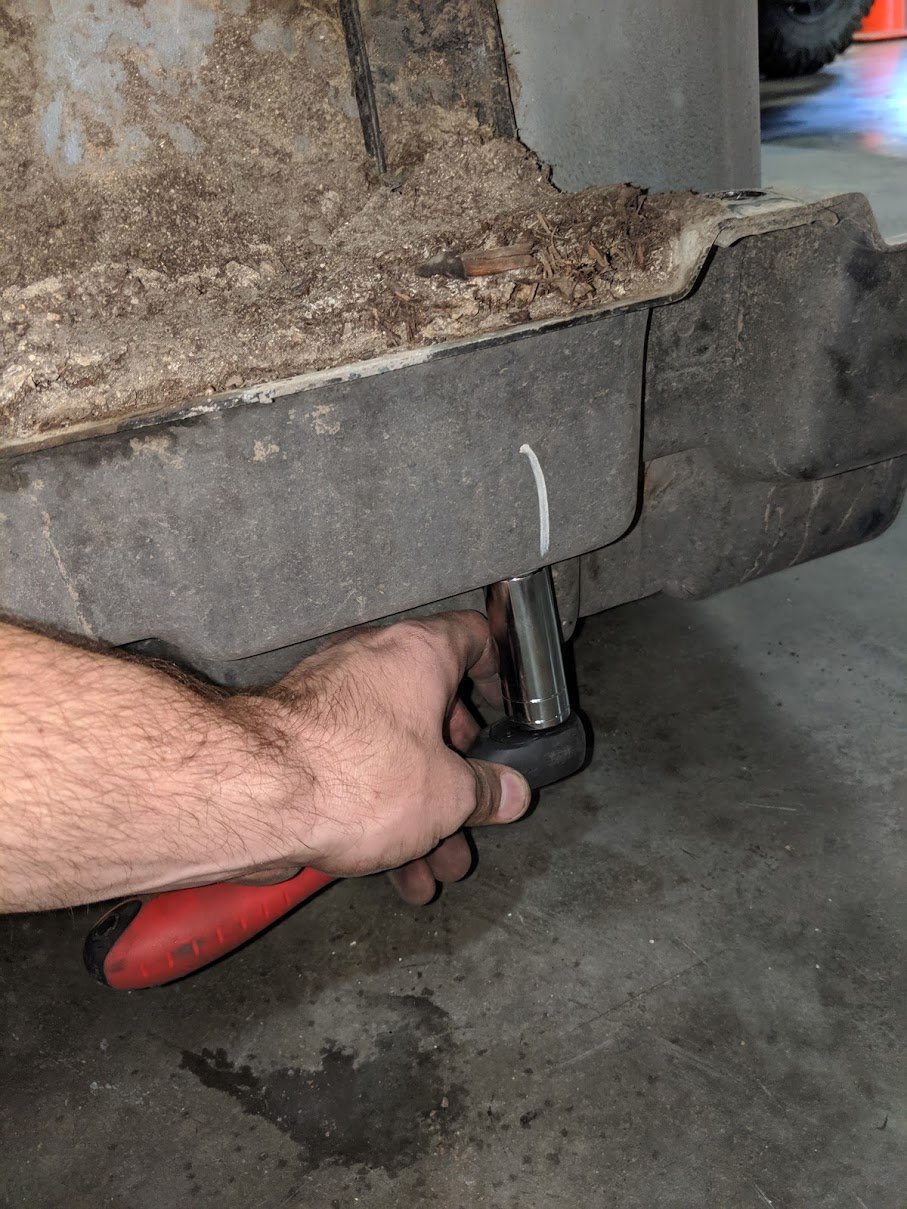
STEP 4
Remove the 4 bolts that fasten the skid plate to the frame. Make sure you only remove the 15mm that hold the skid plate to the frame. You will also see two 19mm bolts that hold the fuel tank in the skid plate. These will be removed later.
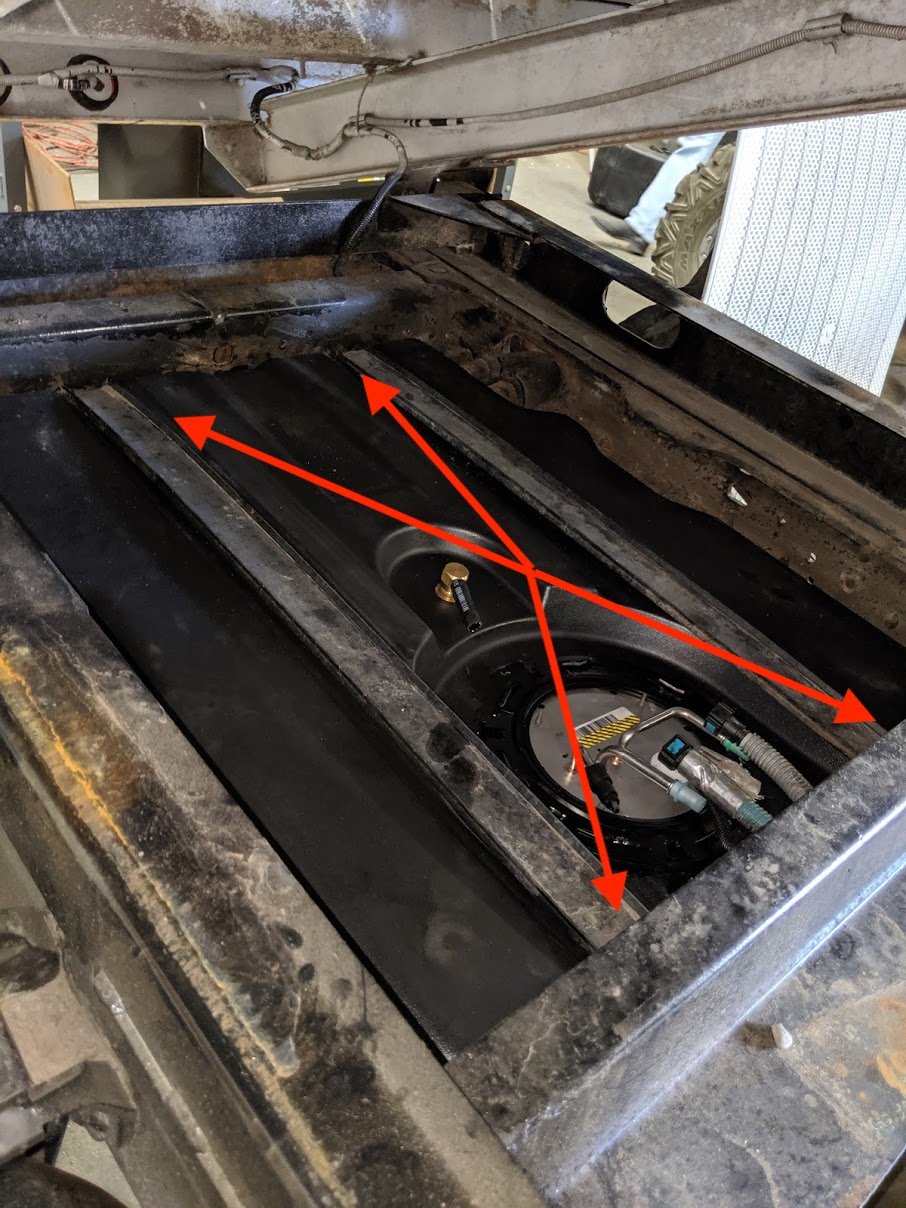
STEP 5
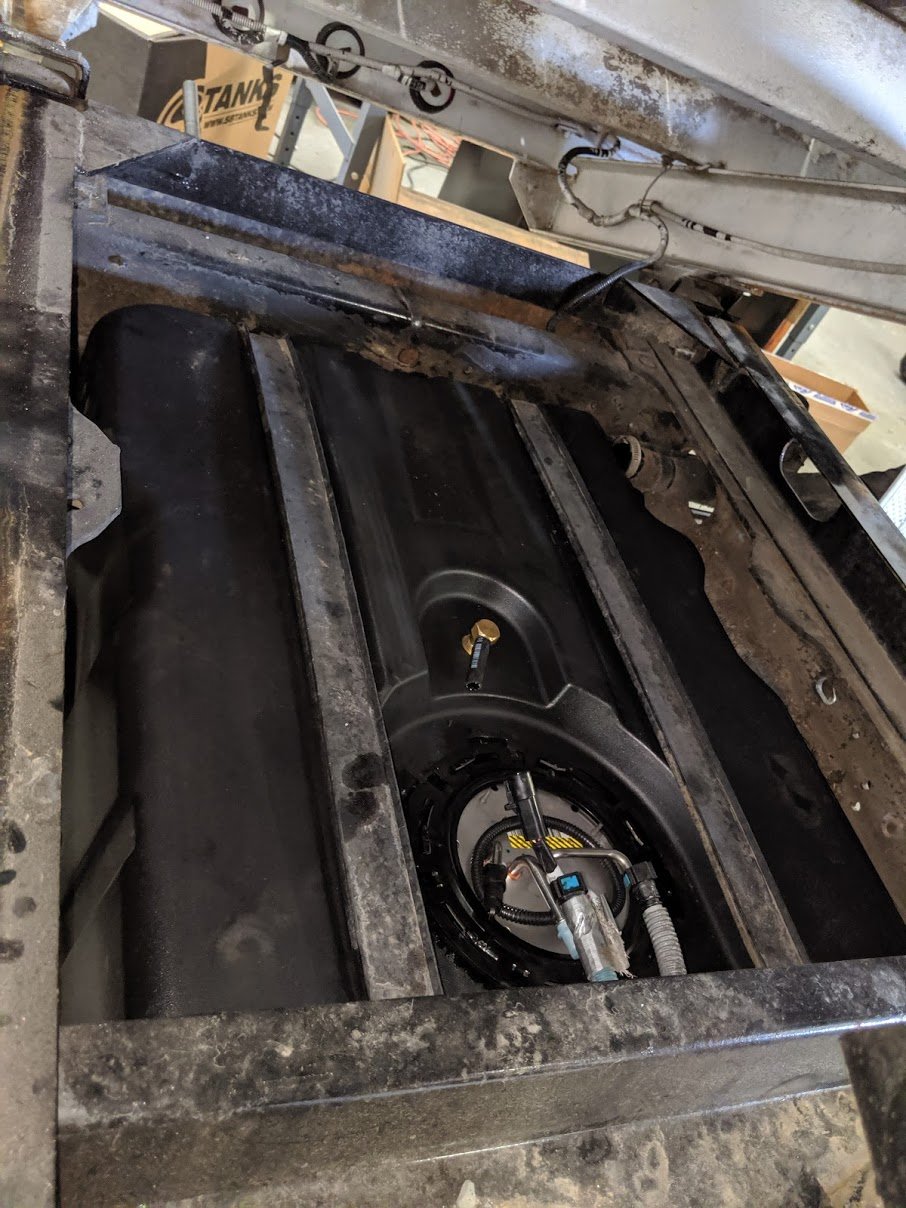
Lower the tank 6″ until you can easily reach the fuel sending unit to disconnect all connectors.
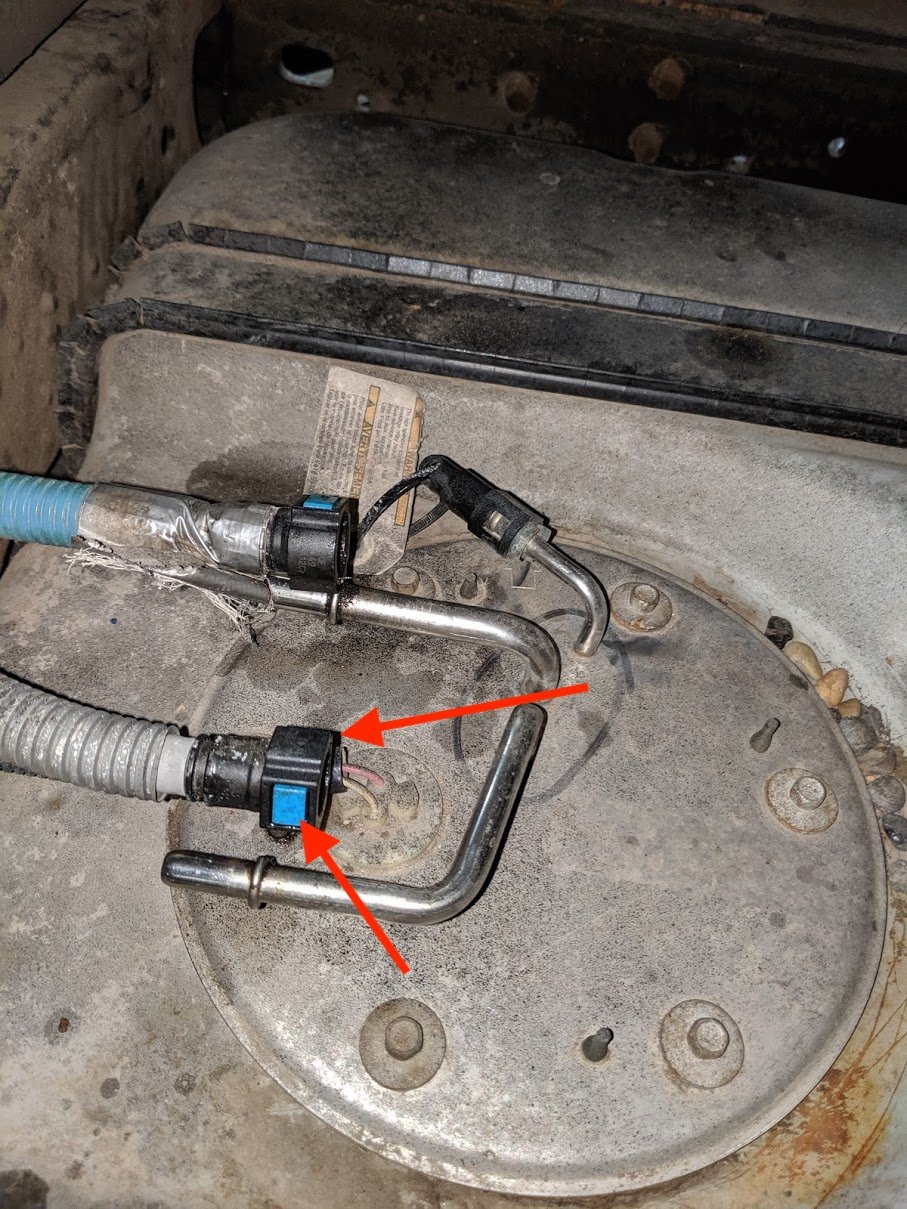
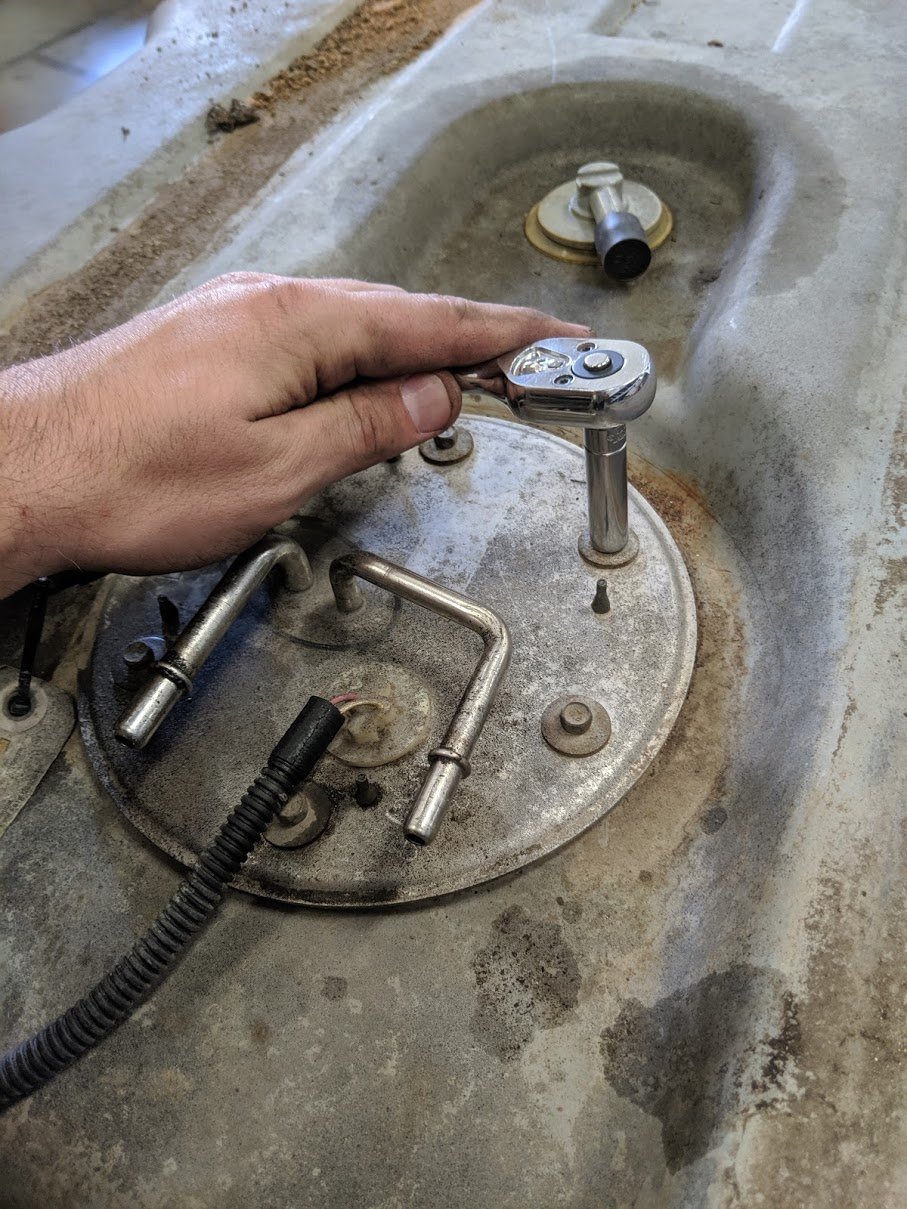
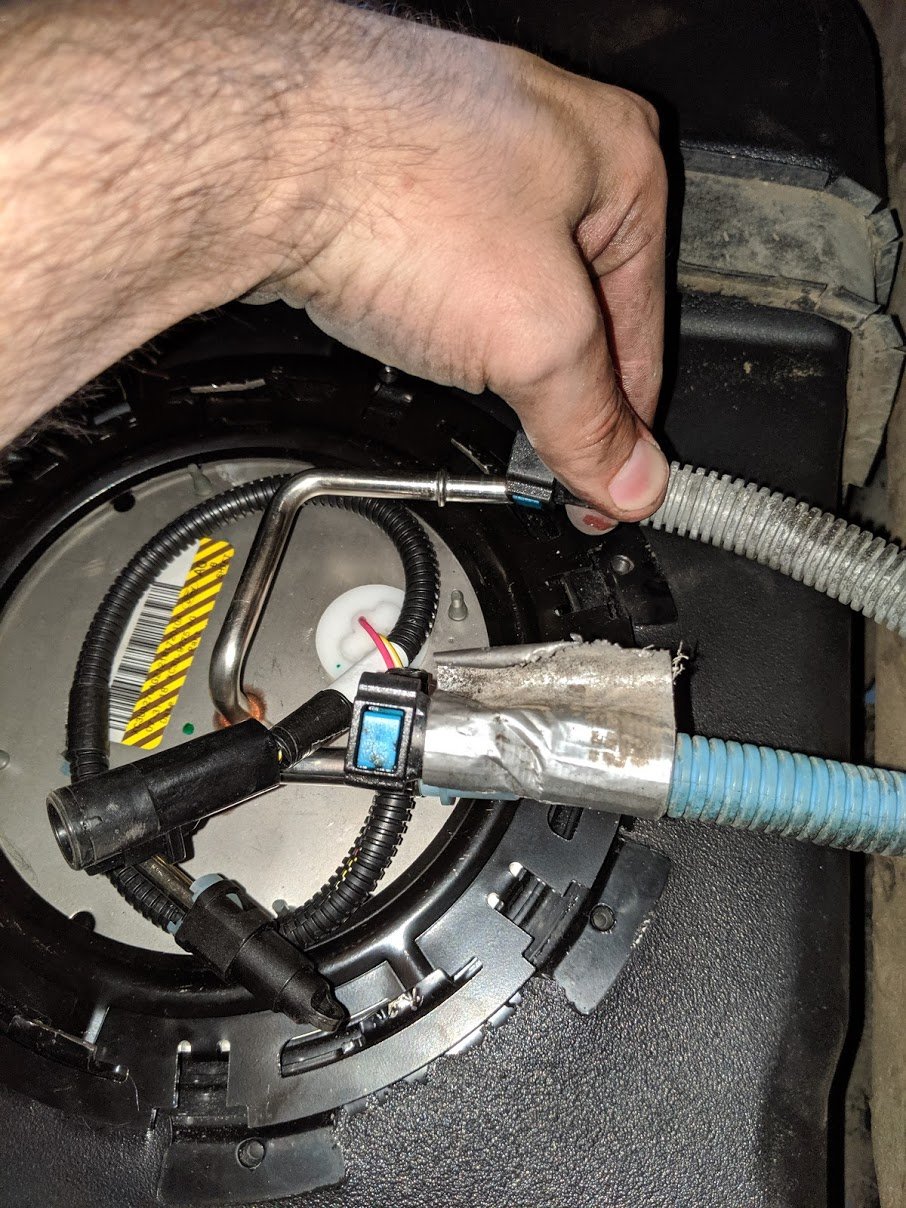
STEP 6
Remove the electrical connector on the sending unit. Use a screwdriver or pick to slide the red locking tab out, then depress the tab and the connector will release.

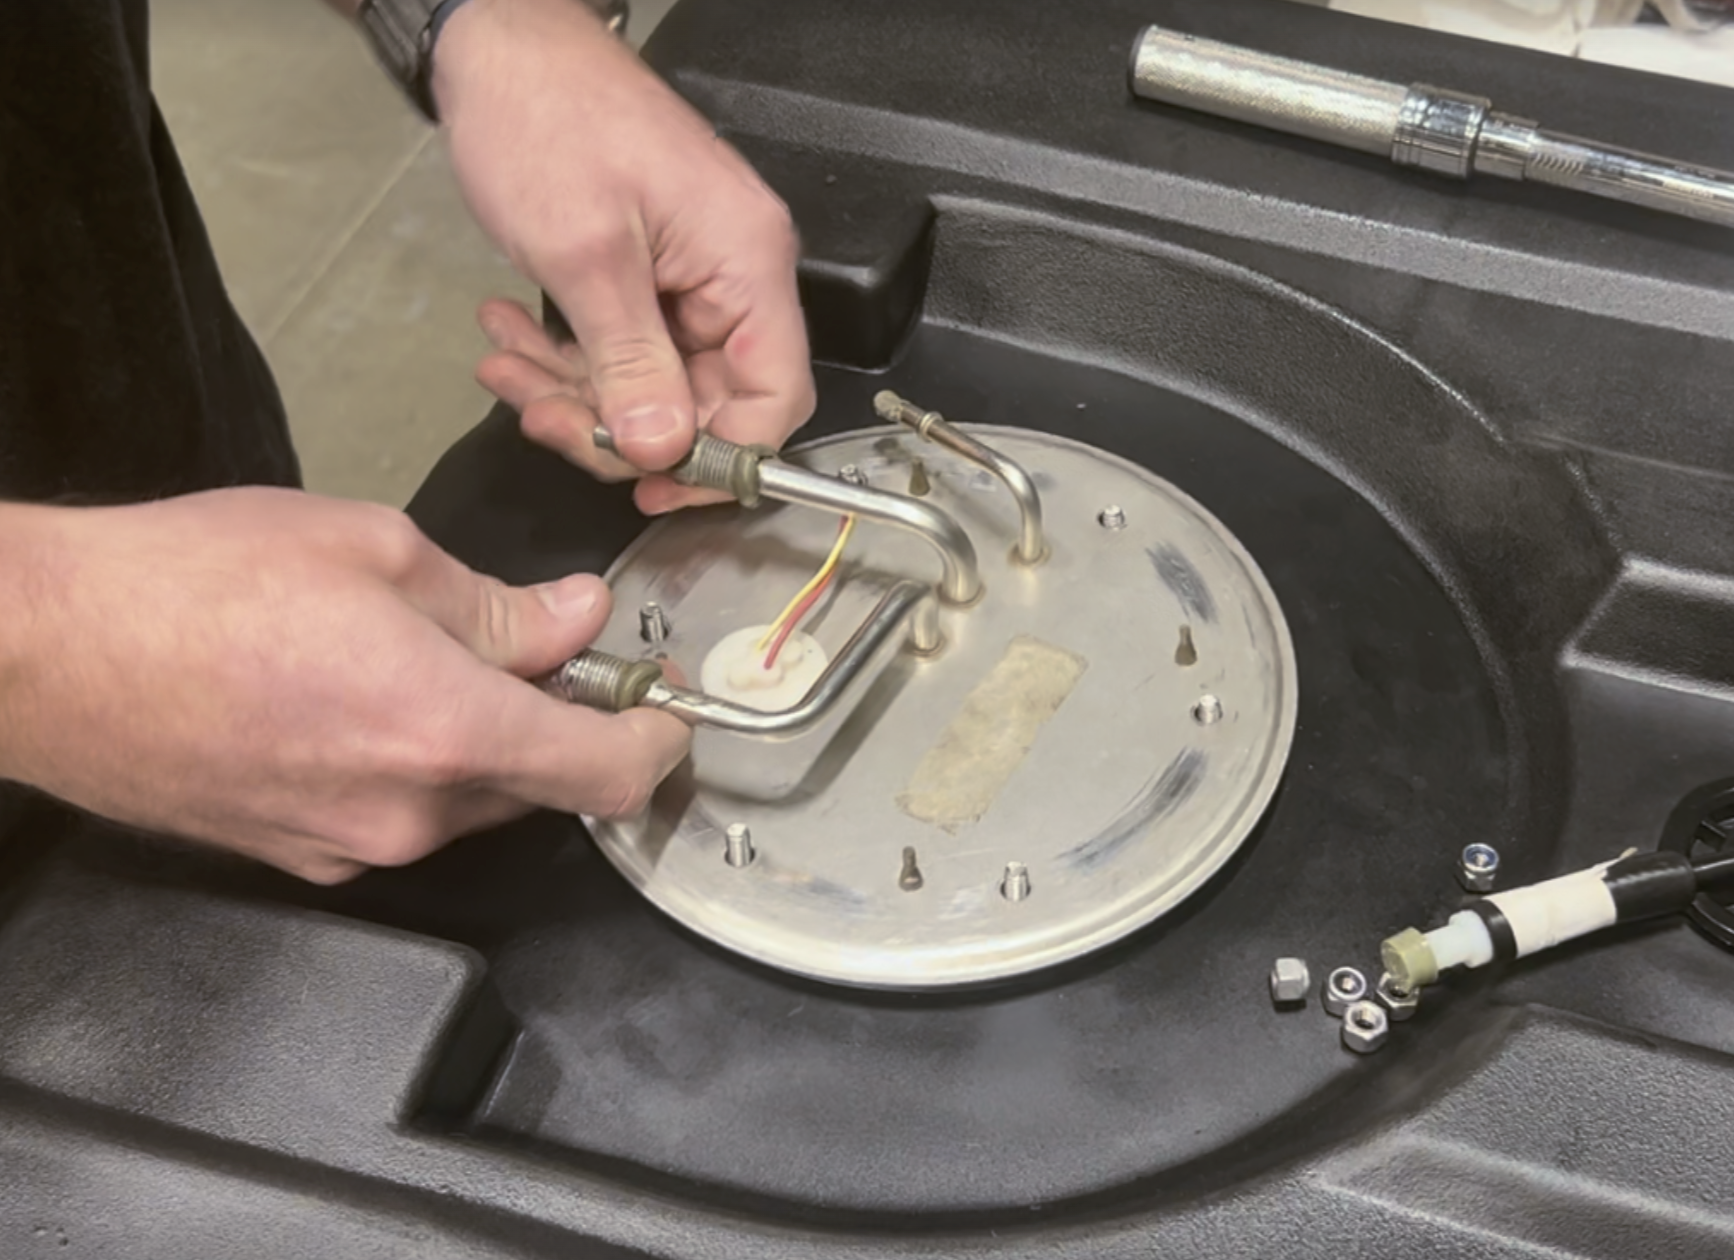
STEP 7
Remove both the feed and return lines from the sending unit.Squeeze the blue buttons on the fuel connecter, gently press in towards the barb then pull off.
STEP 8
Now the tank is completely disconnected from the vehicle and can be lowered from the vehicle. Ensure the tank is still properly supported as remaining fuel can slosh and cause the tank to move.
STEP 9
Clean the area around the fuel sending unit to prevent debris from getting into the tank when removing the sending unit. Now use a 8mm socket to remove the OEM sending unit. This sending unit will be reused with the S&B Tank
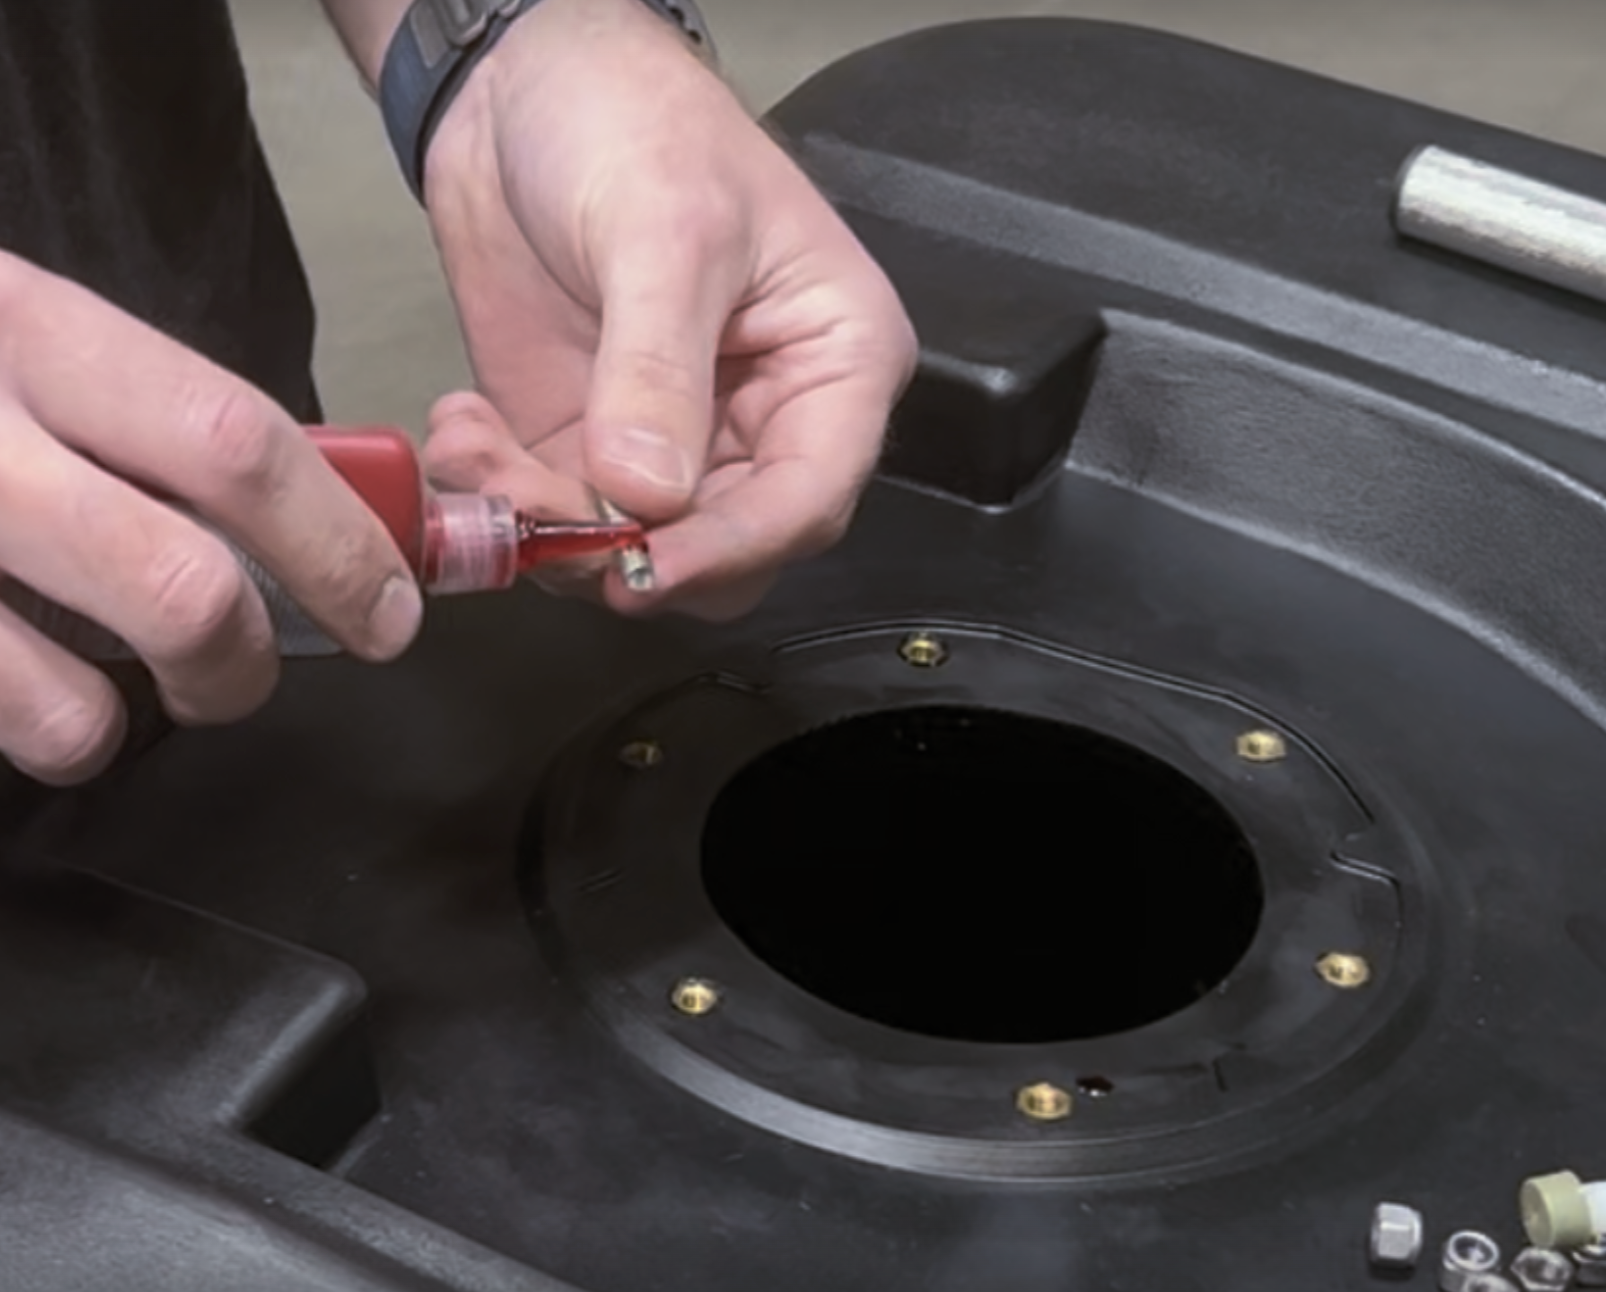
STEP 10
Put Loctite on the 6 included studs and install them into the tank.
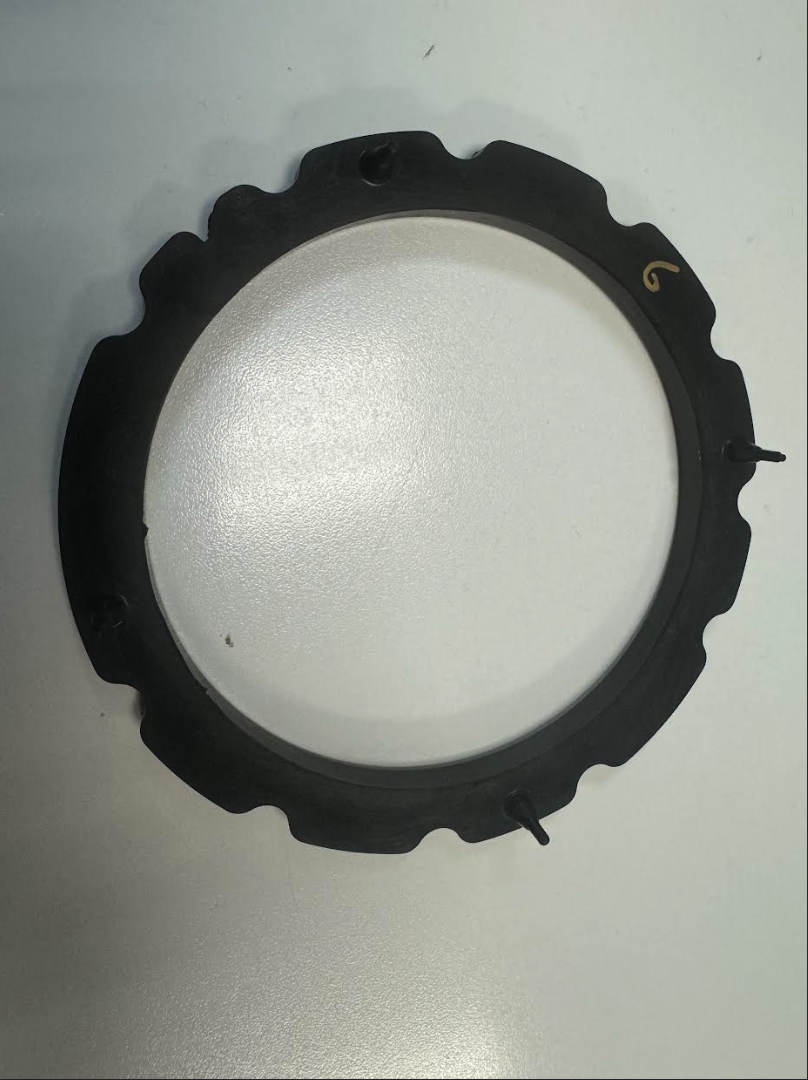
Step 10B
Remove the factory sending unit gasket and replace it with the included S&B gasket.
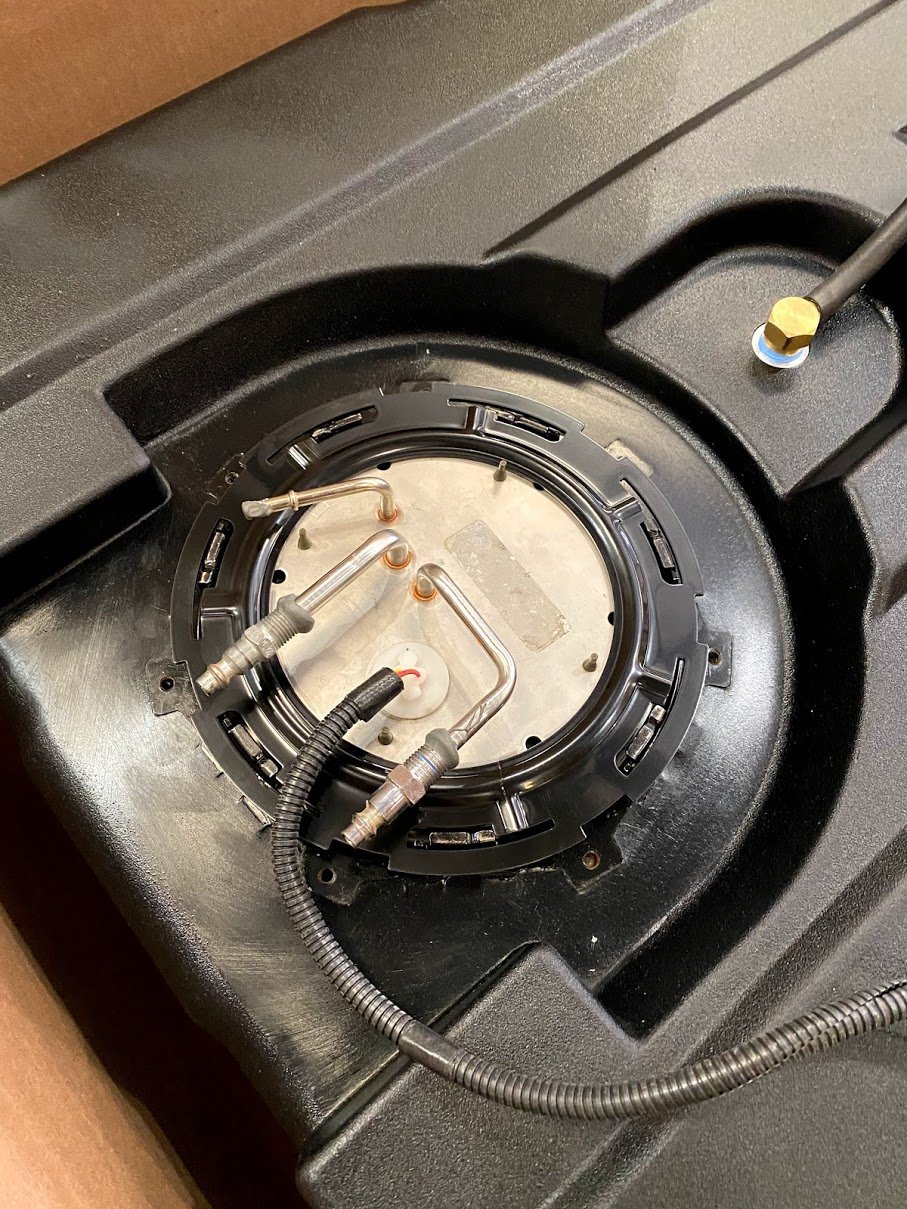
STEP 11
Place the sending unit into the tank in the same orientation it came out of the stock tank.
STEP 12
Install the Locking Ring clockwise onto the fuel tank by using a rubber mallet and pry tool. Ensure that the locking ring locks onto the fuel tank.
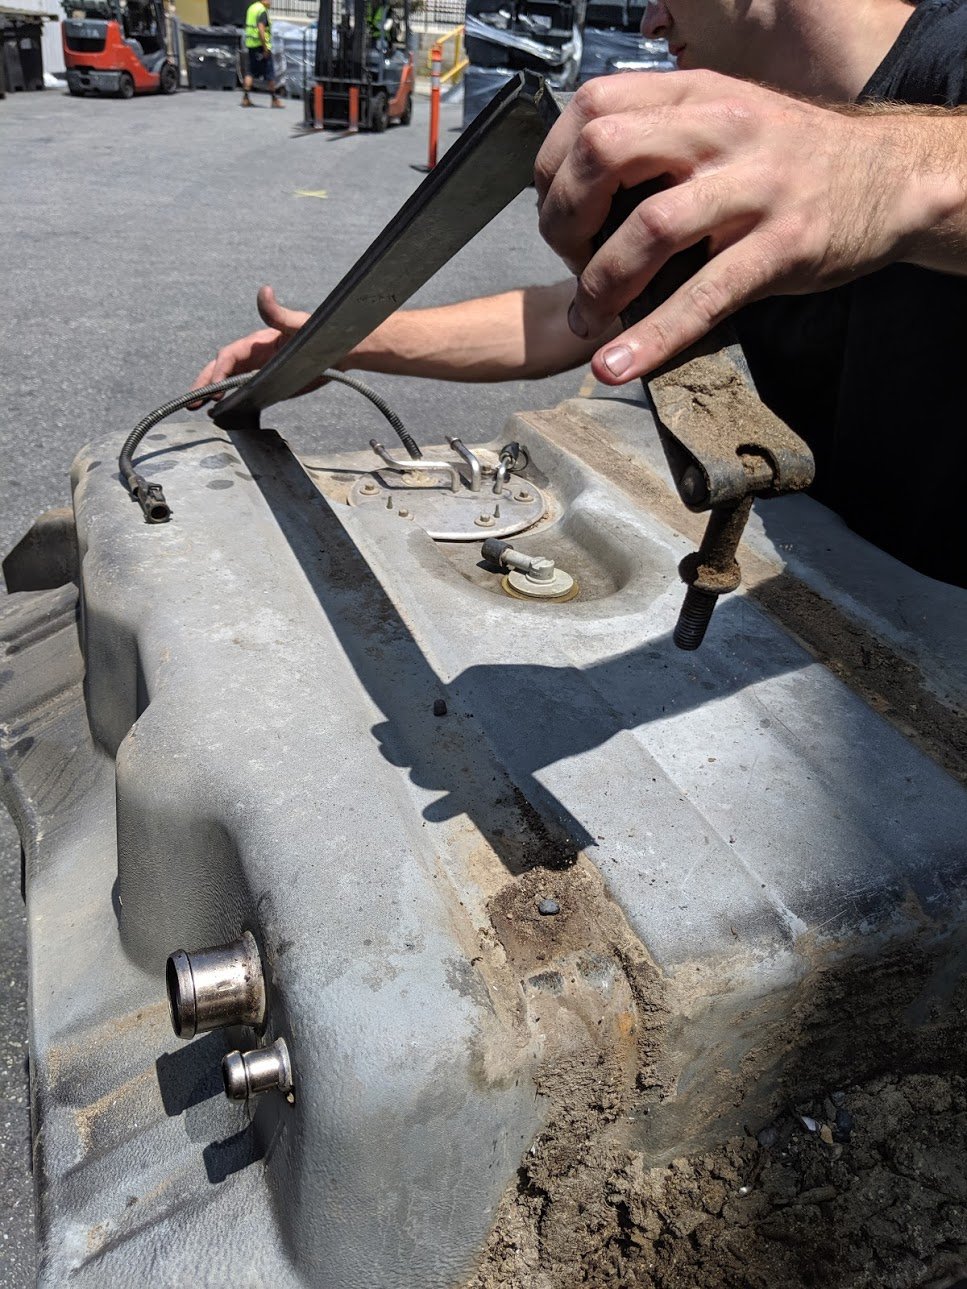
STEP 13
On the OEM fuel tank. Use a 19 metric socket to remove 2 strap bolts which hold the stock fuel tank into the skid plate.
STEP 14
Remove the OEM tank from the skid plate. You may have to pry to get the OEM tank to pop out of the skid plate. Optional Tools
STEP 15
Place the S&B Tank in the OEM skid plate, reassemble the straps using a 19mm socket.

STEP 16
Position the S&B Tank on a jack and raise the tank until you are able to reconnect sending unit connections. Ensure the vent lines are positioned through the frame properly.
STEP 17
Reconnect the electrical connector on the sending unit. Slide the red locking tab back into the locked position.
STEP 18
Reconnect the electrical connector.

STEP 19
With a 15 metric socket, reinstall the 4 bolts that hold the fuel tank skid plate assembly to the truck frame. Hand torque the bolts to make sure all 4 bolts are tight.
STEP 20
Slide the vent hoses onto your S&B Tank and use a flathead screwdriver to tighten hose clamps.
Step 21 INSTALLATION COMPLETE
If you have had any questions, please call or text us at (909)675-1313. If you installed your S&B Tank because of de-lamination issues, we recommend cleaning your fuel system and not re using any of the fuel from your previous tank. Thank you for purchasing an S&B Tank.
You must be logged in to post a review.
Related products


FOX Factory Race Series 2.0 ATS Stabilizer (983-02-143) for 2017-2019 Powerstroke 6.7L


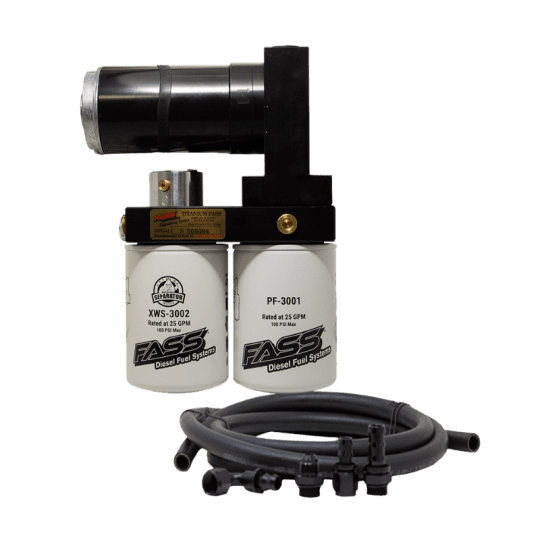
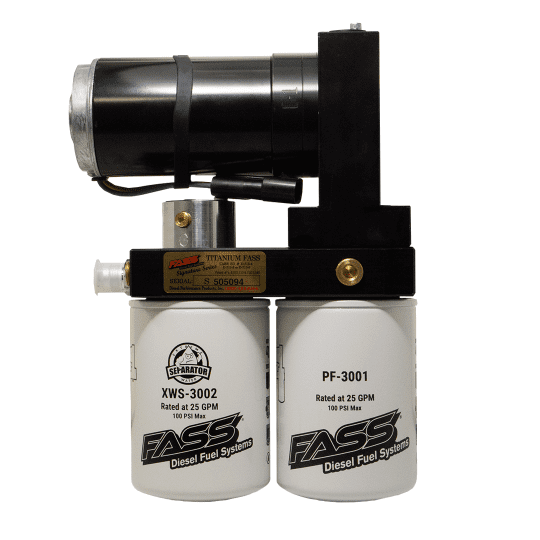
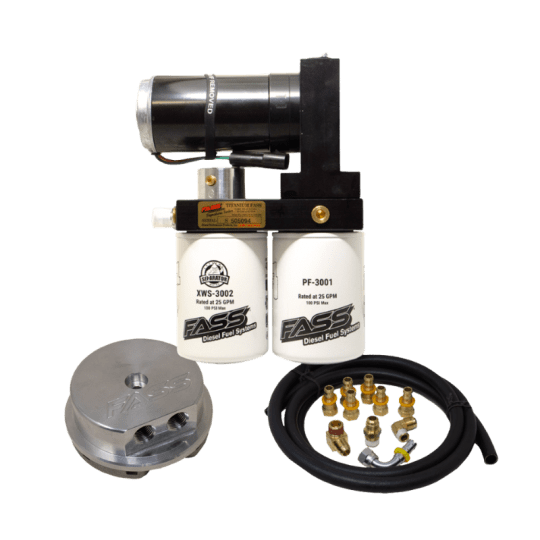
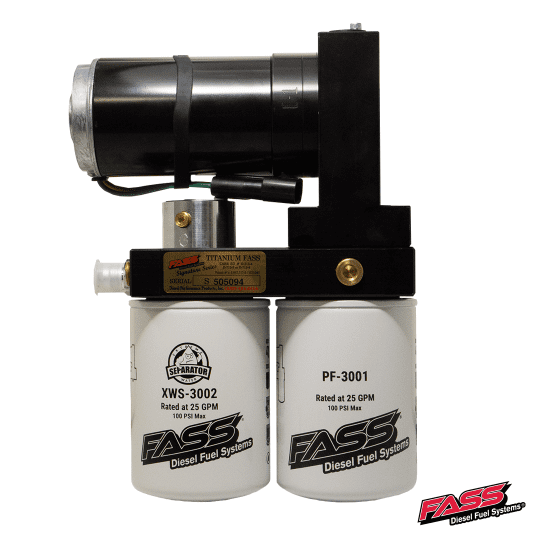
FASS Titanium Signature Series PLUS 180F 140G Fuel System (TSPF14180F140G) for 1999-2007 Powerstroke 6.0L & 7.3L


Reviews
There are no reviews yet.